
Easy Turtle Bars
Introduction to Easy Turtle Bars
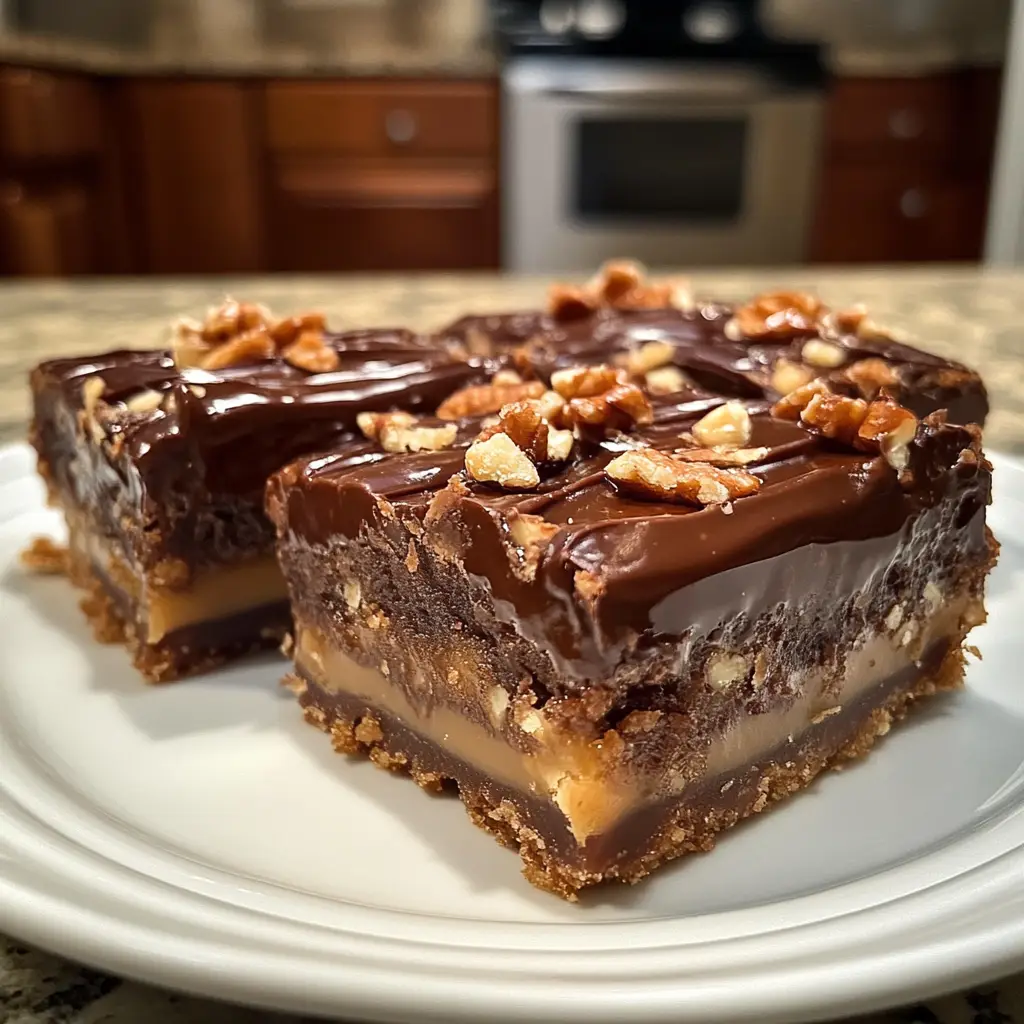
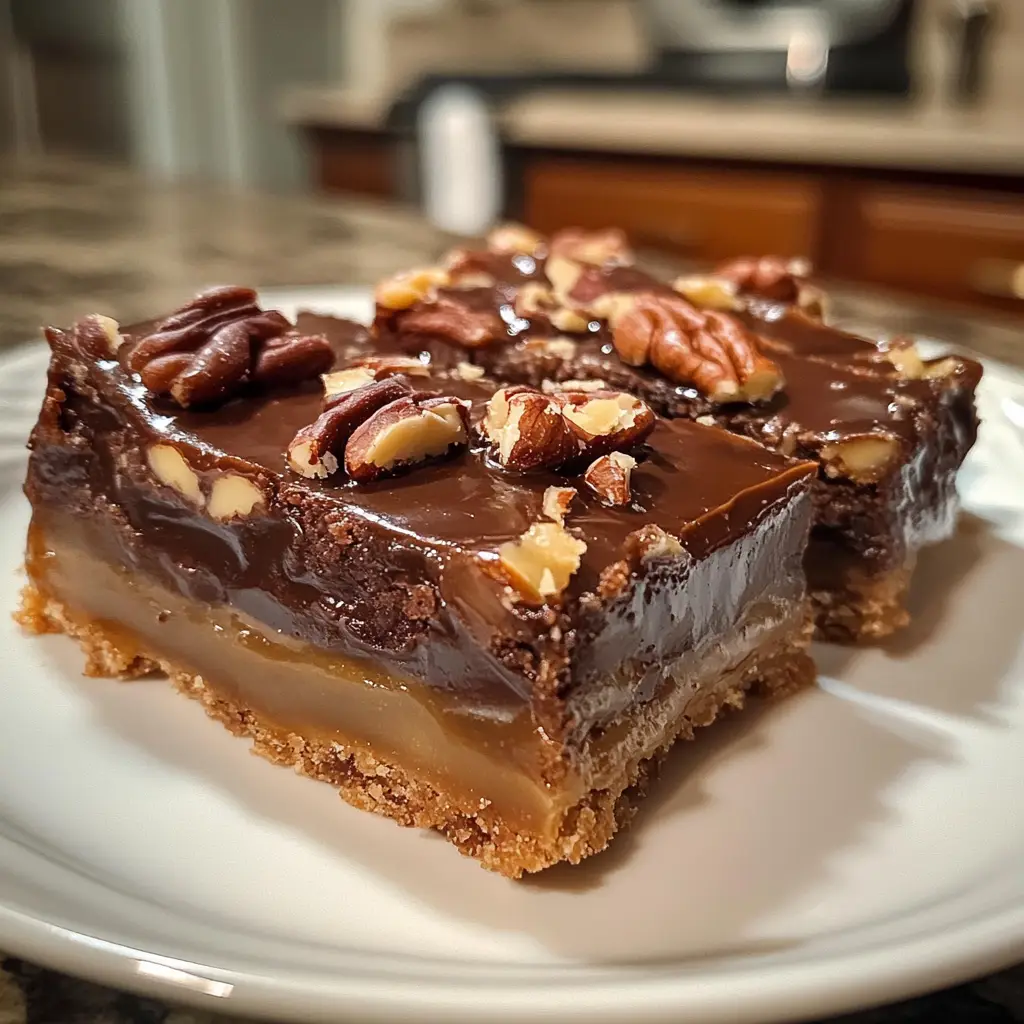
As a busy mom, I know how precious time can be, especially when it comes to whipping up something sweet. That’s why I adore these Easy Turtle Bars! They’re a delightful blend of chocolate, caramel, and pecans, making them a perfect treat for any occasion. Whether you need a quick dessert for a family gathering or a special surprise for your loved ones, these bars are sure to impress. Plus, they come together in just 40 minutes! Trust me, once you try them, you’ll want to keep this recipe close at hand.
Why You’ll Love This Easy Turtle Bars
These Easy Turtle Bars are a game-changer for anyone short on time but big on flavor. They’re incredibly simple to make, requiring just a handful of ingredients and minimal effort. The rich combination of chocolate, caramel, and crunchy pecans creates a taste sensation that will have your family begging for more. Plus, they’re perfect for any occasion, from casual weeknight treats to festive gatherings. You’ll love how quickly they disappear!
Ingredients for Easy Turtle Bars
Gathering the right ingredients is the first step to creating these scrumptious Easy Turtle Bars. Here’s what you’ll need:
- Unsalted butter: This adds richness and moisture to the bars. Make sure it’s softened for easy mixing.
- Brown sugar: It gives a lovely caramel flavor and helps keep the bars chewy.
- All-purpose flour: The base of the bars, providing structure and stability.
- Chocolate chips: Choose semi-sweet or dark for a delightful chocolatey burst in every bite.
- Chopped pecans: These add a crunchy texture and nutty flavor that complements the sweetness.
- Caramel sauce: The star of the show! It drizzles beautifully over the top, creating that signature turtle flavor.
Feel free to get creative! You can swap in dark chocolate chips for a richer taste or use walnuts instead of pecans if that’s what you have on hand. For those who prefer a nut-free version, simply omit the nuts altogether. The exact quantities for each ingredient are listed at the bottom of the article for your convenience, ready for printing!
How to Make Easy Turtle Bars
Now that you have your ingredients ready, let’s dive into the fun part—making these Easy Turtle Bars! Follow these simple steps, and you’ll have a delicious treat in no time.
Step 1: Preheat the Oven
First things first, preheat your oven to 350°F (175°C). Preheating is crucial because it ensures even baking. If you skip this step, your bars might not cook properly, leading to a gooey mess instead of a delightful treat.
Step 2: Cream the Butter and Sugar
In a mixing bowl, cream together the softened unsalted butter and brown sugar until smooth. This process is essential as it incorporates air into the mixture, making your bars light and fluffy. Use a hand mixer or a sturdy wooden spoon for this task. You want a creamy, pale mixture that looks inviting!
Step 3: Combine the Flour
Next, add the all-purpose flour to the butter and sugar mixture. Mix it in gradually to avoid a flour explosion! Stir until just combined. Overmixing can lead to tough bars, and we want them soft and chewy.
Step 4: Press into the Baking Pan
Now, it’s time to press the mixture into a greased baking pan. Use your hands or a spatula to spread it evenly across the bottom. Make sure it’s packed down well, so the bars hold together nicely after baking. A little elbow grease goes a long way here!
Step 5: Bake the Base
Pop the pan into the preheated oven and bake for about 15 minutes. You’ll know it’s done when the edges are lightly golden. This step creates a sturdy base for your Easy Turtle Bars, so don’t rush it!
Step 6: Add Toppings
Once the base is baked, take it out and sprinkle the chocolate chips and chopped pecans evenly over the top. This is where the magic happens! The chocolate will melt slightly, creating a gooey layer that pairs perfectly with the crunchy nuts.
Step 7: Drizzle with Caramel
Now, grab your caramel sauce and drizzle it generously over the chocolate and pecans. For an even distribution, use a spoon or squeeze bottle. This step adds that signature turtle flavor, making your bars irresistible!
Step 8: Final Bake
Return the pan to the oven and bake for an additional 10-15 minutes. Keep an eye on it! You want the caramel to bubble and the chocolate to melt, but not burn. The bars should look deliciously gooey when you take them out.
Step 9: Cool and Cut
Let the bars cool in the pan for about 10 minutes before transferring them to a wire rack. Once they’re completely cool, cut them into squares. This cooling time helps them set, making it easier to cut without falling apart. Enjoy your Easy Turtle Bars!
Tips for Success
- Use room temperature butter for easier creaming.
- Don’t overmix the flour; it can make the bars tough.
- For a cleaner cut, use a sharp knife and wipe it between cuts.
- Let the bars cool completely before cutting for neat squares.
- Store leftovers in an airtight container to keep them fresh.

Equipment Needed
- Baking pan: A 9×13 inch pan works best, but you can use any similar-sized dish.
- Mixing bowl: A large bowl for combining ingredients; a stand mixer is a great alternative.
- Spatula: For pressing the mixture and spreading toppings; a wooden spoon can also do the trick.
- Wire rack: Ideal for cooling the bars; a plate can work in a pinch.
Variations of Easy Turtle Bars
- Nut-Free Version: Omit the pecans for a nut-free treat. You can replace them with extra chocolate chips for added sweetness.
- Gluten-Free Option: Substitute all-purpose flour with a gluten-free flour blend. This way, everyone can enjoy these delicious bars!
- Dark Chocolate Delight: Use dark chocolate chips instead of semi-sweet for a richer, more intense chocolate flavor.
- Salted Caramel Twist: Drizzle a bit of sea salt over the caramel before baking for a sweet and salty combination that’s simply divine.
- Minty Fresh: Add a few drops of peppermint extract to the batter for a refreshing minty flavor that pairs beautifully with chocolate.
Serving Suggestions for Easy Turtle Bars
- Pair with a scoop of vanilla ice cream for a delightful contrast of temperatures.
- Serve with a drizzle of extra caramel sauce on top for added indulgence.
- Accompany with a cup of coffee or hot chocolate for a cozy treat.
- Garnish with a sprinkle of sea salt to enhance the flavors.
- Present on a decorative platter for a festive touch at gatherings.
FAQs about Easy Turtle Bars
As you embark on your journey to make these Easy Turtle Bars, you might have a few questions. Here are some common queries I’ve encountered, along with helpful answers to guide you along the way.
Can I make Easy Turtle Bars ahead of time?
Absolutely! These bars can be made a day in advance. Just store them in an airtight container at room temperature. They’ll stay fresh and delicious, ready to impress your family or guests.
What can I substitute for pecans?
If you’re not a fan of pecans, feel free to swap them out for walnuts or even almonds. You can also skip the nuts entirely for a nut-free version. The bars will still be delightful!
How do I store leftover Easy Turtle Bars?
To keep your bars fresh, store them in an airtight container. They’ll last up to a week, but I doubt they’ll last that long once your family gets a taste!
Can I freeze Easy Turtle Bars?
Yes, you can freeze these bars! Just wrap them tightly in plastic wrap and then place them in a freezer-safe container. They’ll keep well for up to three months. Thaw them in the fridge before serving.
What’s the best way to cut the bars?
For clean cuts, use a sharp knife and wipe it between cuts. This helps prevent the chocolate and caramel from sticking to the knife, giving you those perfect squares!
Final Thoughts
Making Easy Turtle Bars is more than just baking; it’s about creating sweet memories with your loved ones. The joy of pulling these gooey, chocolatey treats from the oven fills the kitchen with warmth and happiness. Each bite is a delightful combination of flavors and textures that brings smiles all around. Whether you’re enjoying them after a long day or sharing them at a gathering, these bars are sure to become a family favorite. So, roll up your sleeves and dive into this delicious adventure. Trust me, you’ll be glad you did!
Print
Easy Turtle Bars: A Decadent Treat You’ll Love!
- Total Time: 40 minutes
- Yield: 24 bars 1x
- Diet: Vegetarian
Description
Easy Turtle Bars are a delicious dessert combining chocolate, caramel, and nuts for a rich and satisfying treat.
Ingredients
- 1 cup unsalted butter
- 1 cup brown sugar
- 2 cups all-purpose flour
- 1 cup chocolate chips
- 1 cup chopped pecans
- 1 cup caramel sauce
Instructions
- Preheat the oven to 350°F (175°C).
- In a mixing bowl, cream together the butter and brown sugar until smooth.
- Add the flour and mix until combined.
- Press the mixture into the bottom of a greased baking pan.
- Bake for 15 minutes, then remove from the oven.
- Sprinkle chocolate chips and pecans over the baked crust.
- Drizzle caramel sauce over the top.
- Return to the oven and bake for an additional 10-15 minutes.
- Allow to cool before cutting into bars.
Notes
- Store in an airtight container for up to a week.
- For a richer flavor, use dark chocolate chips.
- Can be served warm or at room temperature.
- Prep Time: 15 minutes
- Cook Time: 25 minutes
- Category: Dessert
- Method: Baking
- Cuisine: American
Nutrition
- Serving Size: 1 bar
- Calories: 250
- Sugar: 20g
- Sodium: 150mg
- Fat: 12g
- Saturated Fat: 7g
- Unsaturated Fat: 3g
- Trans Fat: 0g
- Carbohydrates: 30g
- Fiber: 1g
- Protein: 3g
- Cholesterol: 30mg
Keywords: Easy Turtle Bars, dessert, chocolate, caramel, pecans