
Grilled Cheese Roll Ups Recipe: An Easy Delight to Try!
Introduction to Grilled Cheese Roll Ups Recipe
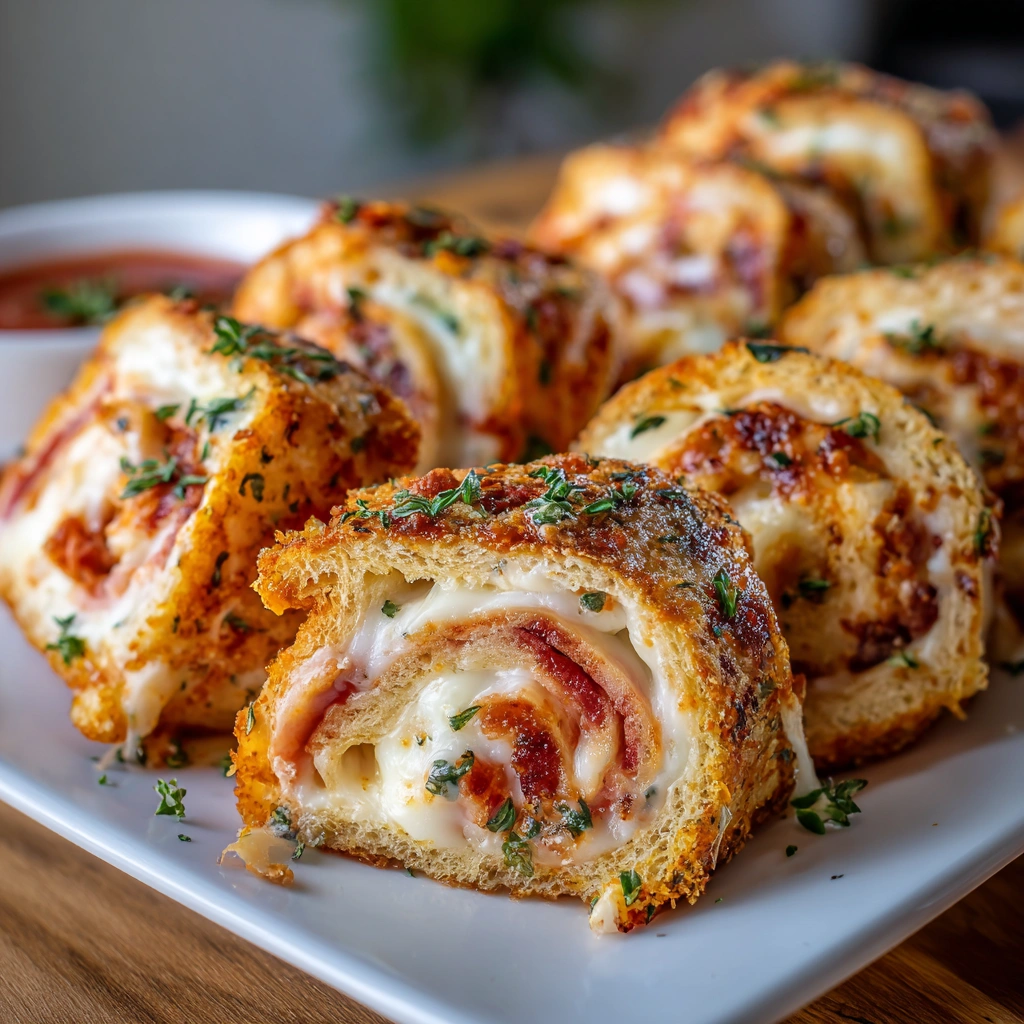
As a busy mom, I know how challenging it can be to whip up something delicious that everyone will love. That’s why I’m excited to share my Grilled Cheese Roll Ups Recipe with you! This fun twist on the classic grilled cheese sandwich is not only quick to make but also a hit with both kids and adults. Imagine crispy, cheesy goodness rolled up and ready to dip! It’s the perfect solution for a hectic day or a cozy family night. Trust me, once you try these, they’ll become a staple in your kitchen!
Why You’ll Love This Grilled Cheese Roll Ups Recipe
This Grilled Cheese Roll Ups Recipe is a lifesaver for busy days. It’s incredibly easy to make, taking just 20 minutes from start to finish. The delightful crunch paired with gooey cheese is a flavor explosion that will satisfy even the pickiest eaters. Plus, you can customize it with your favorite ingredients, making it a versatile snack or meal. It’s comfort food that brings smiles to the table!
Ingredients for Grilled Cheese Roll Ups Recipe
Gathering the right ingredients is the first step to creating these delightful Grilled Cheese Roll Ups. Here’s what you’ll need:
- Bread: Any type works! I love using white or whole wheat for a classic taste, but feel free to experiment with sourdough or gluten-free options.
- Cheese: Cheddar is my go-to for its melty goodness, but you can use mozzarella, Swiss, or even pepper jack for a spicy kick.
- Butter: This adds a rich flavor and helps achieve that golden-brown crust. You can substitute with olive oil or a dairy-free spread if needed.
For those looking to jazz it up, consider adding slices of ham or turkey for extra protein. You can also serve these roll-ups with marinara sauce for dipping, which adds a fun twist! If you want to get creative, try different cheeses or even add some herbs for a gourmet touch.
Exact quantities for each ingredient are available at the bottom of the article for easy printing!
How to Make Grilled Cheese Roll Ups Recipe
Now that you have your ingredients ready, let’s dive into the fun part—making these Grilled Cheese Roll Ups! Follow these simple steps, and you’ll have a delicious snack in no time.
Step 1: Flatten the Bread
Start by taking each slice of bread and flattening it with a rolling pin. This step is crucial! It helps the bread roll up easily and allows for more cheese to fit inside. If you don’t have a rolling pin, a heavy bottle works just as well. Aim for a thickness of about a quarter of an inch.
Step 2: Add Cheese
Next, place a slice of cheese on each flattened piece of bread. Make sure to center the cheese so it rolls up nicely. You can mix and match different cheeses for a flavor adventure! Just imagine the melty goodness waiting to be unleashed.
Step 3: Roll It Up
Now, it’s time to roll! Starting from one end, tightly roll the bread around the cheese. The tighter the roll, the better it will hold together while cooking. Don’t worry if a little cheese peeks out; that’s just part of the charm!
Step 4: Heat the Skillet
In a skillet, melt some butter over medium heat. You want it hot enough to sizzle but not so hot that it burns. If you’re using olive oil, just make sure it’s heated through. This step is key for achieving that golden-brown crust we all love.
Step 5: Cook the Roll-Ups
Place the roll-ups seam side down in the skillet. Cook them for about 2-3 minutes on each side, or until they’re golden brown and crispy. Keep an eye on them! You want that perfect crunch without burning. Flip them gently to avoid spilling the cheesy goodness.
Step 6: Serve and Enjoy
Once they’re cooked to perfection, remove the roll-ups from the skillet. Slice them into bite-sized pieces for easy dipping. Serve them warm, and don’t forget the marinara sauce on the side! Your family will be begging for more.
Tips for Success
- Use fresh bread for the best texture and flavor.
- Don’t overfill with cheese; a slice per roll-up is perfect.
- Experiment with different cheeses for unique flavors.
- Keep the heat medium to avoid burning while cooking.
- Let the roll-ups cool slightly before serving to avoid burns.
Equipment Needed
- Rolling Pin: Essential for flattening the bread. A heavy bottle can work in a pinch.
- Skillet: A non-stick skillet is ideal, but any frying pan will do.
- Spatula: For flipping the roll-ups without losing any cheesy goodness.
Variations
- Meat Lovers: Add slices of ham, turkey, or even crispy bacon for a protein-packed twist.
- Veggie Delight: Incorporate spinach, roasted red peppers, or sautéed mushrooms for a healthy boost.
- Spicy Kick: Use pepper jack cheese or add jalapeños for a zesty flavor explosion.
- Herb Infusion: Sprinkle some dried oregano or basil inside for an aromatic touch.
- Sweet Treat: Swap cheese for Nutella or peanut butter and add banana slices for a dessert version!
Serving Suggestions
- Dip it: Serve with marinara sauce, ranch dressing, or even a spicy sriracha mayo for extra flavor.
- Pair it: Complement with a fresh side salad or crispy veggie sticks for a balanced meal.
- Drink it: Enjoy with a glass of cold milk or a refreshing iced tea.
- Presentation: Arrange on a colorful platter for a fun, inviting look!
FAQs about Grilled Cheese Roll Ups Recipe
Can I make Grilled Cheese Roll Ups ahead of time?
Absolutely! You can prepare the roll-ups in advance and store them in the fridge. Just cook them right before serving for that fresh, crispy texture.
What type of cheese works best for this recipe?
While cheddar is a classic choice, feel free to experiment! Mozzarella, Swiss, or even a blend of cheeses can elevate your Grilled Cheese Roll Ups Recipe.
Can I freeze the roll-ups?
Yes, you can freeze them! Just make sure to wrap them tightly. When you’re ready to enjoy, bake them straight from the freezer until heated through.
How do I make these roll-ups healthier?
To lighten them up, use whole grain bread and low-fat cheese. You can also add veggies like spinach or tomatoes for extra nutrition!
What can I serve with Grilled Cheese Roll Ups?
These roll-ups pair wonderfully with marinara sauce, ranch dressing, or a fresh salad. They make a delightful snack or a light meal!
Final Thoughts
Making Grilled Cheese Roll Ups is more than just cooking; it’s about creating joyful moments in the kitchen. The aroma of melting cheese and crispy bread fills the air, inviting everyone to gather around the table. This recipe is a delightful way to bring smiles to your family, whether it’s a quick snack after school or a fun dinner option. Plus, the endless variations mean you can keep things exciting! So, roll up your sleeves, grab your ingredients, and let the laughter and deliciousness unfold. Trust me, these roll-ups will become a cherished family favorite!
Print
Grilled Cheese Roll Ups Recipe: An Easy Delight to Try!
- Total Time: 20 minutes
- Yield: 4 servings 1x
- Diet: Vegetarian
Description
Grilled Cheese Roll Ups are a fun and easy twist on the classic grilled cheese sandwich, perfect for kids and adults alike.
Ingredients
- 4 slices of bread
- 4 slices of cheese (cheddar or your choice)
- 2 tablespoons of butter
Instructions
- Flatten each slice of bread with a rolling pin.
- Place a slice of cheese on each flattened bread slice.
- Roll the bread tightly around the cheese.
- Heat butter in a skillet over medium heat.
- Place the roll-ups seam side down in the skillet.
- Cook until golden brown, about 2-3 minutes on each side.
- Remove from skillet, slice, and serve warm.
Notes
- Feel free to add ham or turkey for extra flavor.
- Serve with marinara sauce for dipping.
- Use different types of cheese for variety.
- Prep Time: 10 minutes
- Cook Time: 10 minutes
- Category: Snack
- Method: Pan-frying
- Cuisine: American
Nutrition
- Serving Size: 1 roll-up
- Calories: 150
- Sugar: 1g
- Sodium: 300mg
- Fat: 10g
- Saturated Fat: 5g
- Unsaturated Fat: 3g
- Trans Fat: 0g
- Carbohydrates: 12g
- Fiber: 1g
- Protein: 6g
- Cholesterol: 20mg
Keywords: Grilled Cheese Roll Ups, Easy Recipe, Snack Recipe