
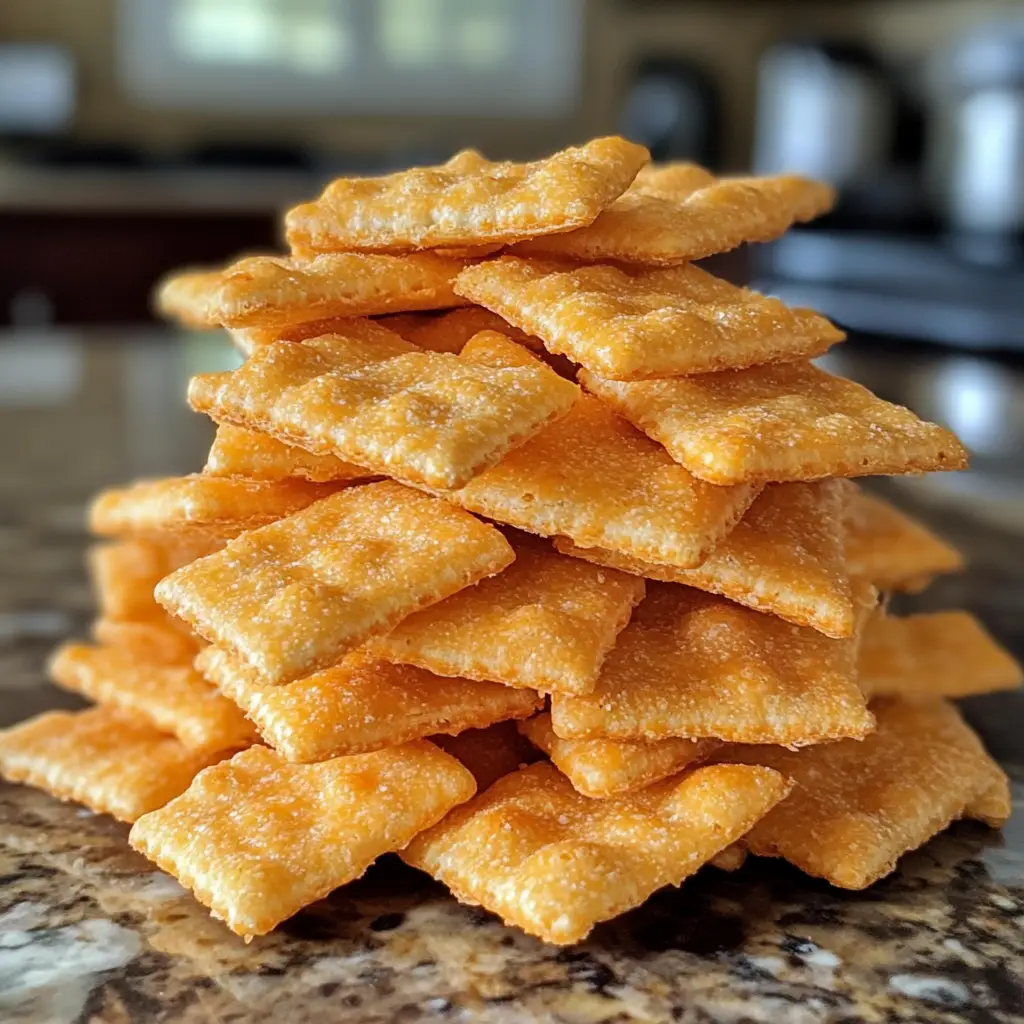
Homemade Cheez-Its: Discover the Best Recipe Today!
Introduction to Homemade Cheez-Its
As a busy mom, I know how challenging it can be to find the perfect snack that pleases everyone. That’s why I love making Homemade Cheez-Its. They’re not just a nostalgic treat; they’re a quick solution for those hectic afternoons when everyone’s craving something crunchy and cheesy. With just a handful of ingredients, you can whip up a batch that’s fresher and tastier than anything from a box. Plus, they’re a fun way to get the kids involved in the kitchen. Trust me, once you try these, you’ll never look at store-bought snacks the same way again!
Why You’ll Love This Homemade Cheez-Its
These Homemade Cheez-Its are a game-changer for busy families. They come together in just 35 minutes, making them perfect for last-minute snack cravings. The taste? Oh, it’s a delightful explosion of cheesy goodness that will have everyone reaching for more. Plus, you can customize them to suit your family’s preferences, ensuring that even the pickiest eaters will be satisfied. What’s not to love?
Ingredients for Homemade Cheez-Its
Gathering the right ingredients is the first step to creating your own Homemade Cheez-Its. Here’s what you’ll need:
- Sharp cheddar cheese: This is the star of the show! Its bold flavor gives the Cheez-Its that classic taste we all love.
- Unsalted butter: Softened butter adds richness and helps bind the ingredients together, creating a delightful texture.
- All-purpose flour: This is the backbone of the dough, providing structure and a satisfying crunch.
- Salt: A pinch of salt enhances the flavors, making each bite irresistible.
- Paprika: This spice adds a subtle smokiness and a hint of color, elevating the overall flavor profile.
- Garlic powder: A sprinkle of garlic powder brings a savory depth that complements the cheese beautifully.
- Cold water: Just a bit is needed to bring the dough together, ensuring it’s not too dry or too sticky.
Feel free to get creative! You can experiment with different cheese varieties like pepper jack for a spicy kick or even a blend of cheeses for a unique flavor. If you’re looking for a healthier twist, consider using whole wheat flour instead of all-purpose. For those who enjoy a bit of heat, adding cayenne pepper can spice things up!
For exact measurements, check the bottom of the article where you can find everything you need for printing.
How to Make Homemade Cheez-Its
Step 1: Preheat the Oven
Preheating your oven to 350°F (175°C) is crucial for achieving that perfect crunch. It ensures that the Homemade Cheez-Its bake evenly. If you skip this step, you might end up with chewy snacks instead of the crispy bites we all crave. So, let that oven warm up!
Step 2: Mix Cheese and Butter
In a mixing bowl, combine the shredded sharp cheddar cheese and softened unsalted butter. Use a fork or your hands to blend them until they’re well mixed. This step is key for a creamy texture that binds the flavors together. Trust me, the aroma will be irresistible!
Step 3: Add Dry Ingredients
Next, add the all-purpose flour, salt, paprika, and garlic powder to the cheese mixture. Stir until it becomes crumbly. Each ingredient plays a role: flour gives structure, while salt and spices enhance the flavor. This is where the magic begins, so mix well!
Step 4: Form the Dough
Gradually add cold water, one tablespoon at a time, until the dough comes together. You want it to be firm but not sticky. If it feels too dry, add a bit more water. The right consistency is essential for shaping those delightful squares!
Step 5: Roll and Cut
On a floured surface, roll out the dough to about 1/8 inch thick. Use a sharp knife or pizza cutter to cut it into small squares. This is where you can get creative! Make them as big or small as you like, but remember, uniform sizes bake more evenly.
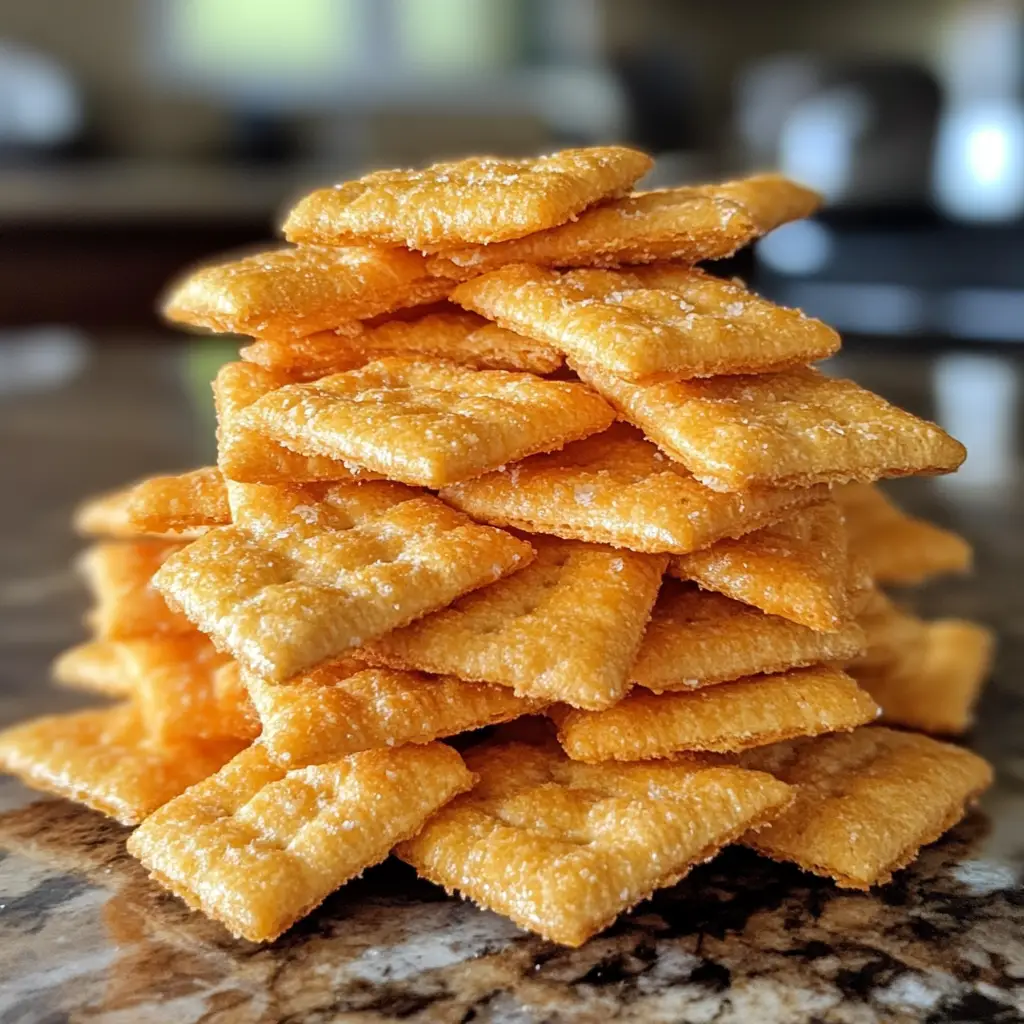
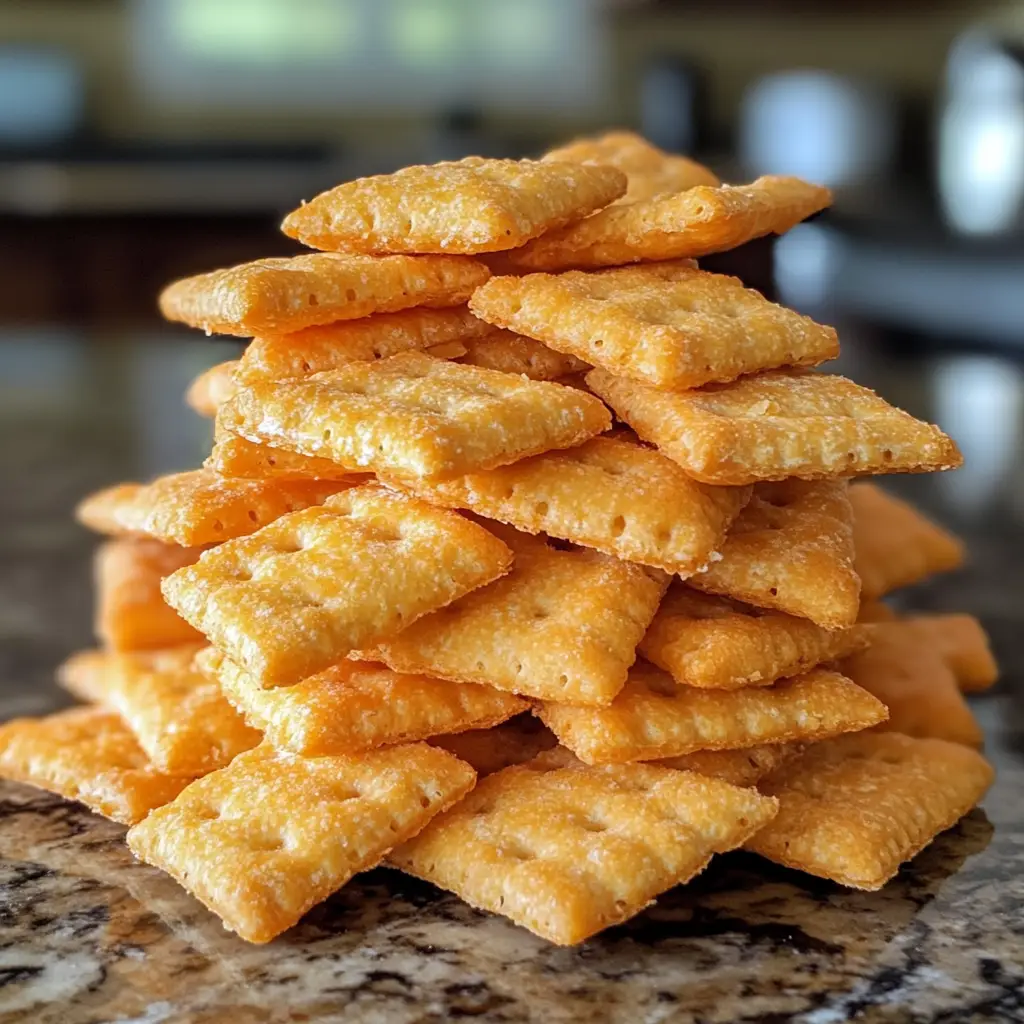
Step 6: Bake the Cheez-Its
Place the squares on a baking sheet lined with parchment paper. Poke a hole in the center of each square with a fork. Bake for 15-20 minutes, or until they turn golden brown. Keep an eye on them; you want that perfect crunch without burning!
Tips for Success
- Use freshly shredded cheese for the best flavor and texture.
- Don’t skip the preheating step; it’s essential for that perfect crunch.
- Keep your dough cold; it helps maintain the right consistency.
- Experiment with spices to find your family’s favorite flavor combination.
- Store your Homemade Cheez-Its in an airtight container to keep them fresh longer.
Equipment Needed
- Mixing bowl: A large bowl for combining ingredients. A sturdy pot can work in a pinch.
- Fork or pastry cutter: For mixing cheese and butter. Your hands are a great alternative!
- Rolling pin: To roll out the dough. A wine bottle can do the trick if you’re in a bind.
- Baking sheet: For baking the Cheez-Its. Any flat oven-safe dish will suffice.
- Parchment paper: To prevent sticking. Aluminum foil can be used if you don’t have any.
Variations of Homemade Cheez-Its
- Spicy Cheez-Its: Add cayenne pepper or crushed red pepper flakes to the dough for a fiery kick that spice lovers will adore.
- Herbed Cheez-Its: Incorporate dried herbs like rosemary, thyme, or oregano for a fragrant twist that elevates the flavor profile.
- Cheesy Blend: Experiment with different cheese combinations, such as mozzarella and parmesan, for a unique taste experience.
- Gluten-Free Option: Substitute all-purpose flour with a gluten-free blend to make these snacks suitable for those with dietary restrictions.
- Sweet Cheez-Its: For a fun twist, add a sprinkle of cinnamon and sugar to the dough for a sweet and savory snack.
Serving Suggestions for Homemade Cheez-Its
- Pair your Homemade Cheez-Its with a refreshing dip like hummus or guacamole for a delightful snack.
- Serve them alongside a crisp salad for a fun twist on lunch.
- Enjoy with a glass of iced tea or lemonade for a perfect afternoon treat.
- For a party, arrange them on a colorful platter with fresh veggies and cheese cubes.
- Pack them in lunchboxes for a tasty surprise that kids will love!
FAQs about Homemade Cheez-Its
Can I use different types of cheese for my Homemade Cheez-Its?
Absolutely! Feel free to experiment with various cheese types. Cheddar is classic, but pepper jack, gouda, or even a blend can add unique flavors to your Homemade Cheez-Its.
How do I store my Homemade Cheez-Its?
Store your Homemade Cheez-Its in an airtight container at room temperature. They’ll stay fresh for up to a week, but I bet they won’t last that long!
Can I make these Cheez-Its ahead of time?
Yes! You can prepare the dough in advance and refrigerate it for up to two days. Just roll and bake when you’re ready for a cheesy snack!
What can I serve with Homemade Cheez-Its?
These tasty bites pair wonderfully with dips like salsa, guacamole, or even a creamy ranch dressing. They also make a great addition to cheese boards!
Are Homemade Cheez-Its suitable for kids?
Definitely! Kids love the cheesy flavor and crunchy texture. Plus, making them together can be a fun family activity!
Final Thoughts
Making Homemade Cheez-Its is more than just whipping up a snack; it’s about creating joyful moments in the kitchen. The aroma of baking cheese fills the air, bringing smiles to faces young and old. Each crunchy bite is a reminder of simpler times, perfect for sharing with family or enjoying during a quiet moment. Plus, the satisfaction of knowing you made them from scratch is unbeatable. So, gather your ingredients, roll up your sleeves, and dive into this delightful culinary adventure. Trust me, once you start, you’ll find it hard to stop at just one!
PrintHomemade Cheez-Its: Discover the Best Recipe Today!
- Total Time: 35 minutes
- Yield: Approximately 30 Cheez-Its 1x
- Diet: Vegetarian
Description
A delicious homemade version of the classic Cheez-Its, perfect for snacking.
Ingredients
- 1 cup sharp cheddar cheese, shredded
- 1/4 cup unsalted butter, softened
- 1 cup all-purpose flour
- 1/2 teaspoon salt
- 1/4 teaspoon paprika
- 1/4 teaspoon garlic powder
- 1–2 tablespoons cold water
Instructions
- Preheat your oven to 350°F (175°C).
- In a mixing bowl, combine the shredded cheddar cheese and softened butter until well blended.
- Add the flour, salt, paprika, and garlic powder to the cheese mixture and mix until crumbly.
- Gradually add cold water, one tablespoon at a time, until the dough comes together.
- Roll out the dough on a floured surface to about 1/8 inch thick.
- Cut the dough into small squares and place them on a baking sheet lined with parchment paper.
- Poke a hole in the center of each square with a fork.
- Bake in the preheated oven for 15-20 minutes or until golden brown.
- Let cool before serving.
Notes
- Store in an airtight container for up to a week.
- Feel free to experiment with different cheese varieties for unique flavors.
- For a spicier version, add cayenne pepper to the dough.
- Prep Time: 15 minutes
- Cook Time: 20 minutes
- Category: Snack
- Method: Baking
- Cuisine: American
Nutrition
- Serving Size: 1 oz (about 10 Cheez-Its)
- Calories: 150
- Sugar: 0g
- Sodium: 200mg
- Fat: 10g
- Saturated Fat: 6g
- Unsaturated Fat: 3g
- Trans Fat: 0g
- Carbohydrates: 12g
- Fiber: 0g
- Protein: 4g
- Cholesterol: 20mg
Keywords: Homemade Cheez-Its, Cheez-Its recipe, snack recipe