
Softest Homemade Sourdough Sandwich Bread
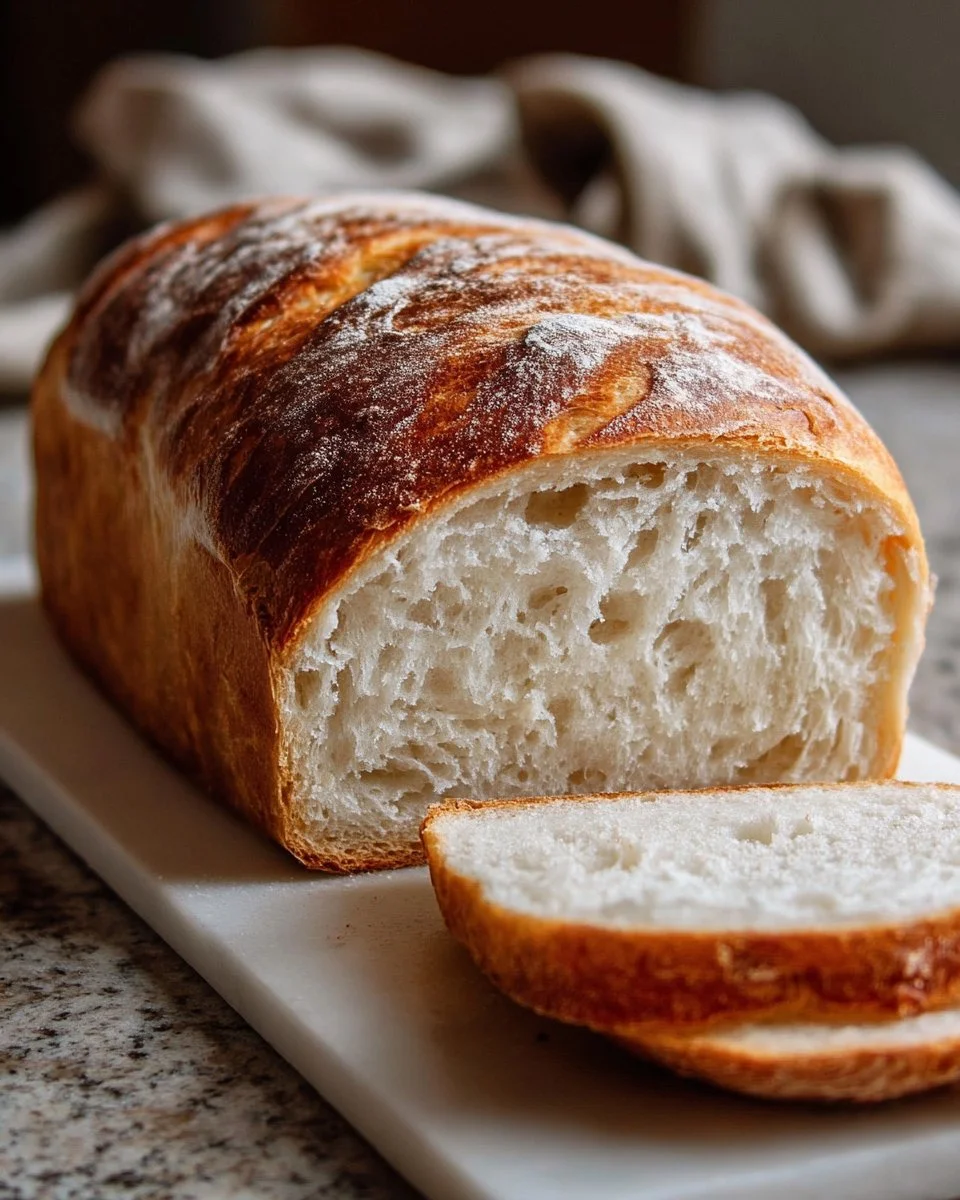
As the aroma of freshly baked bread wafts through your home, it instantly evokes a sense of warmth and comfort. Imagine sinking your teeth into a slice of soft, pillowy sourdough sandwich bread, its golden crust crackling softly with each bite. The interior is tender and slightly tangy, a delightful balance that dances on your palate. Slather on a layer of creamy butter, and as it melts into the warm bread, you experience pure bliss. This isn’t just any bread; it’s a canvas for countless culinary indulgences, whether you’re crafting a classic sandwich or enjoying it toasted with jam.
Every moment you spend preparing this homemade sourdough sandwich bread envelops you in the anticipation of that first bite, transporting you to a cozy bakery scattered with the sounds of laughter and clinking tea cups. This bread will invite you back for seconds and thirds, each slice softer than the last, making it impossible to resist. Trust me; your kitchen will soon be a beloved gathering place, and every loaf will tell a delicious story of its own.
Why You’ll Love This Softest Homemade Sourdough Sandwich Bread
This sourdough sandwich bread is a true marvel, effortlessly elevating any meal. First and foremost, the taste draws you in. The slightly tangy flavor from the sourdough starter harmonizes beautifully with the sweetness of the sugar, creating a multidimensional experience with every bite. The texture is the real showstopper; this bread boasts an irresistible softness that holds up well against any filling or topping. Whether you’re crafting gourmet sandwiches for lunch or slathering a slice with homemade strawberry jam for breakfast, it adapts beautifully to your cravings.
Beyond the sublime taste, this bread shines in its versatility. Perfect for lazy weekend brunches, packed school lunches, or cozy family dinners, it makes appearing like a culinary superstar incredibly easy. Its approachable ingredients and straightforward preparation demystify bread-making, ensuring success for even novice bakers. Once you taste it, you will never want to reach for store-bought bread again!
Preparation Phase & Tools to Use
To create this beautiful loaf, a few essential kitchen tools will ensure your success and take some of the stress out of bread-making:
- Mixing Bowl: A large, sturdy bowl allows for ample space to mix and knead your dough.
- Wooden Spoon or Dough Scraper: These make it easier to combine the ingredients and handle sticky dough.
- Floured Surface: This helps you knead the dough without it sticking, enabling you to work your magic effortlessly.
- Kitchen Scale (optional): Weighing your ingredients can lead to more accurate measurements for consistent results.
- Loaf Pan: A greased loaf pan shapes your bread perfectly, giving it that classic sandwich form we all love.
- Damp Cloth or Plastic Wrap: Covers the dough while it rises to keep it moist, essential for that perfect rise.
Preparation Tips:
- Ensure your sourdough starter is active and bubbly before you begin. This will greatly affect the rise and flavor of your bread.
- Measure your ingredients accurately. If you can, invest in a kitchen scale for the best results.
Ingredients for Softest Homemade Sourdough Sandwich Bread
Gathering quality ingredients leads to scrumptious bread:
- 3 cups all-purpose flour: A versatile staple that creates the beautiful structure of the bread.
- 1 cup active sourdough starter: This brings that beloved tang and helps the loaf rise.
- 1 cup warm water: Activates the yeast, ensuring a fluffy texture.
- 1 teaspoon salt: Enhances flavor and strengthens the dough.
- 1 tablespoon sugar: Balances the tanginess and promotes a lovely golden crust.
- 1 tablespoon olive oil: Adds richness and moisture to the bread.
Possible Substitutions:
- Whole wheat flour can replace part of the all-purpose flour for added nutrition.
- Honey or maple syrup can stand in for sugar if preferred.
How to Make Softest Homemade Sourdough Sandwich Bread
- In a large mixing bowl, whisk together your active sourdough starter, warm water, sugar, and olive oil until everything sings in harmony.
- Gradually stir in the flour and salt, mixing until a shaggy dough forms. You’ll notice the ingredients coming together—this is the precursor to something magical.
- Transfer the shaggy dough onto a floured surface and knead for about 10 minutes until the dough becomes smooth and elastic. Tips: To knead, push the dough away from you with the heel of your hand, fold it back over, and repeat. Enjoy the soothing rhythm of kneading.
- Gather the kneaded dough into a ball and place it in a greased bowl. Cover it with a damp cloth, then set it aside to rise in a warm, draft-free place for 4–6 hours, or until it has doubled in size. Patience is key; this is where the magic happens!
- Punch down the dough gently to release the air. Reshape it into a loaf by folding it into itself and placing it seam-side down in a greased loaf pan. Cover it again and let it rise for 1–2 hours.
- While your dough rises, preheat the oven to 375°F (190°C), allowing it to reach the perfect temperature for baking.
- Bake the loaf for 30–35 minutes or until it’s golden brown and sounds hollow when tapped on the bottom. You’ll be greeted by a beautiful aroma that fills your home and beckons everyone to the kitchen.
- Allow the bread to cool completely on a rack before slicing. This step is crucial; it allows the structure to set, ensuring each slice holds up beautifully.
Chef’s Notes & Helpful Tips
- Make-ahead tips: Prepare your dough the night before and allow it to rise in the fridge overnight. Bake it fresh the next day!
- Cooking alternatives: If you own an air fryer, you can adapt the time and temperature for quicker results. Try baking at 350°F (175°C) for about 30-35 minutes.
- Customization ideas: Add herbs (like rosemary) or seeds (like sesame or poppy) for extra flavor. Incorporating seeds into the dough can add an exciting crunch and flavor boost.
Common Mistakes to Avoid
- Using an inactive starter: Ensure your starter bubbles and rises before you start baking. An unactivated starter results in dense bread.
- Rushing the rise: Allow ample time for dough to rise. Not waiting long enough leads to bread that lacks the airy quality you desire.
- Skipping the cooling period: Slicing the bread before it cools affects the texture and crumb structure. Enjoy the anticipation as it cools fully.
What to Serve With Softest Homemade Sourdough Sandwich Bread
Consider these delicious pairings to enhance your homemade sourdough experience:
- Creamy Avocado Toast: The soft bread supports lush avocado seasoned simply with salt, pepper, and a sprinkle of chili flakes.
- Classic Grilled Cheese: Whether you go classic or gourmet, this sandwich becomes a masterpiece on sourdough.
- Hearty Tomato Soup: This combo warms the soul, with the fresh bread perfect for dipping.
- Egg Salad or Tuna Salad: The bread’s texture holds up wonderfully against rich fillings, making it a perfect vessel.
- French Toast: Transform leftover slices into a sweet breakfast delight, topped with maple syrup and fresh berries.
- Nut Butter and Bananas: A satisfying snack, where the nutty spread pairs beautifully with the bread’s softness.
Storage & Reheating Instructions
Store your homemade sourdough sandwich bread in a cool, dry place at room temperature for up to 3 days, wrapped in a clean kitchen towel or placed in a breathable bread bag. If you want to keep it longer, slice it and freeze the pieces in an airtight bag for up to three months. Reheat slices only as needed in the toaster or in the oven at 350°F (175°C) for about 5-10 minutes until warmed through and slightly crispy.
Estimated Nutrition Information
This recipe yields about 12 slices, with each slice containing approximately:
- Calories: 150
- Carbohydrates: 30g
- Protein: 4g
- Fat: 3g
- Fiber: 1g
Nutrition values may vary based on specific ingredients and measurements used.
FAQs
1. Can I use whole wheat flour instead of all-purpose flour?
Yes, using whole wheat flour will create denser bread with a deeper flavor. Start with half whole wheat and half all-purpose for best results.
2. How do I know when my dough has risen enough?
Look for the dough to double in size and feel light and airy. Gently poke the dough; if it holds a slight indentation, it’s ready to shape.
3. My bread didn’t rise well. What went wrong?
Possible issues include using an inactive starter, not allowing enough rising time, or cold temperatures in your kitchen. Ensure your starter is bubbly and warm your environment for rising.
4. Can I make this recipe gluten-free?
While the traditional recipe relies on gluten, you can try a gluten-free flour blend with added psyllium husk for structure, but results may differ.
5. What is the best way to store my bread?
For optimal freshness, store it in a cool place, wrapped in a kitchen towel, or slice and freeze it for later enjoyment.
Creating the softest homemade sourdough sandwich bread takes time, care, and a sprinkle of love. Each loaf sings with the flavors of the ingredients and the stories of your baking journey. Take the plunge, embrace the beautiful process, and savor the joy that this homemade bread will undoubtedly bring to you and your loved ones. Your kitchen soon becomes a haven of comforting scents and satisfying textures, beckoning everyone to gather around the table. Don’t wait any longer; grab your ingredients and start this delicious adventure.
Print
Softest Homemade Sourdough Sandwich Bread
- Total Time: 195 minutes
- Yield: 12 slices 1x
- Diet: Vegetarian
Description
A delightful recipe for soft and pillowy sourdough sandwich bread, perfect for various culinary creations.
Ingredients
- 3 cups all-purpose flour
- 1 cup active sourdough starter
- 1 cup warm water
- 1 teaspoon salt
- 1 tablespoon sugar
- 1 tablespoon olive oil
Instructions
- Whisk together your sourdough starter, warm water, sugar, and olive oil in a large mixing bowl.
- Gradually stir in the flour and salt until a shaggy dough forms.
- Transfer the shaggy dough onto a floured surface and knead for about 10 minutes until smooth and elastic.
- Gather the kneaded dough into a ball and place it in a greased bowl. Cover it with a damp cloth and let it rise in a warm place for 4–6 hours.
- Punch down the dough gently and reshape it into a loaf. Place it seam-side down in a greased loaf pan and let it rise again for 1–2 hours.
- Preheat the oven to 375°F (190°C).
- Bake the loaf for 30–35 minutes until golden brown and hollow sounding when tapped on the bottom.
- Allow the bread to cool completely on a rack before slicing.
Notes
Ensure your sourdough starter is active for the best rise. Measure accurately for consistent results.
- Prep Time: 15 minutes
- Cook Time: 35 minutes
- Category: Bread
- Method: Baking
- Cuisine: American
Nutrition
- Serving Size: 1 slice
- Calories: 150
- Sugar: 1g
- Sodium: 200mg
- Fat: 3g
- Saturated Fat: 0.4g
- Unsaturated Fat: 2g
- Trans Fat: 0g
- Carbohydrates: 30g
- Fiber: 1g
- Protein: 4g
- Cholesterol: 0mg
Keywords: sourdough, bread, homemade, sandwich bread, baking