
Witch Finger Cookies
Introduction to Witch Finger Cookies
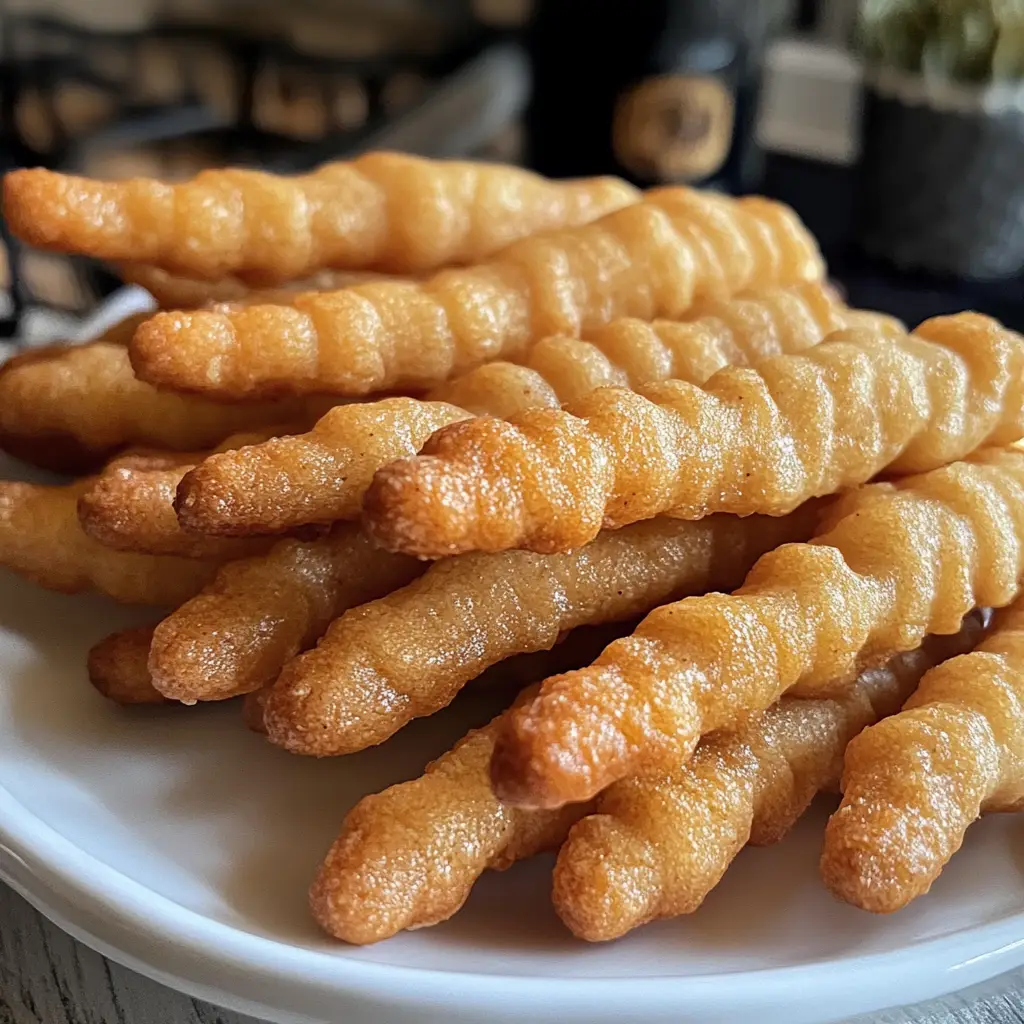
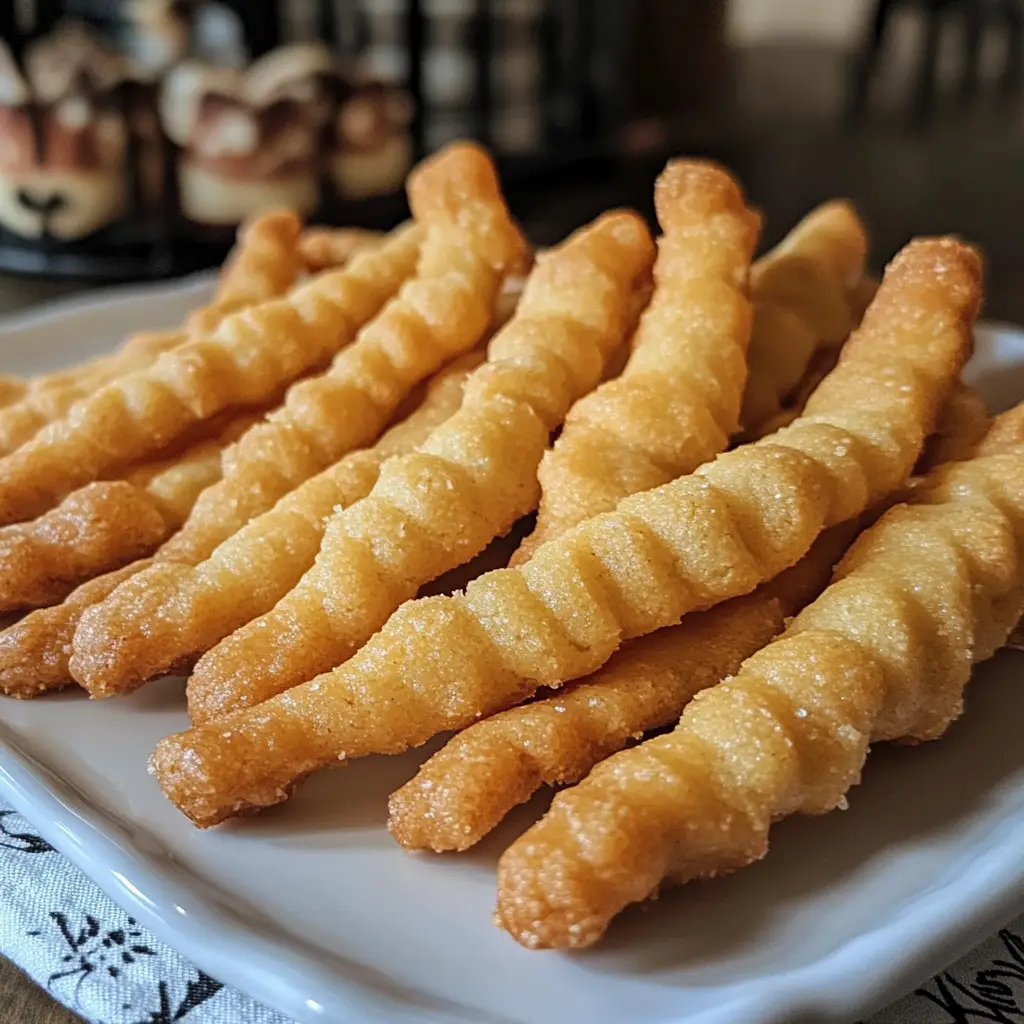
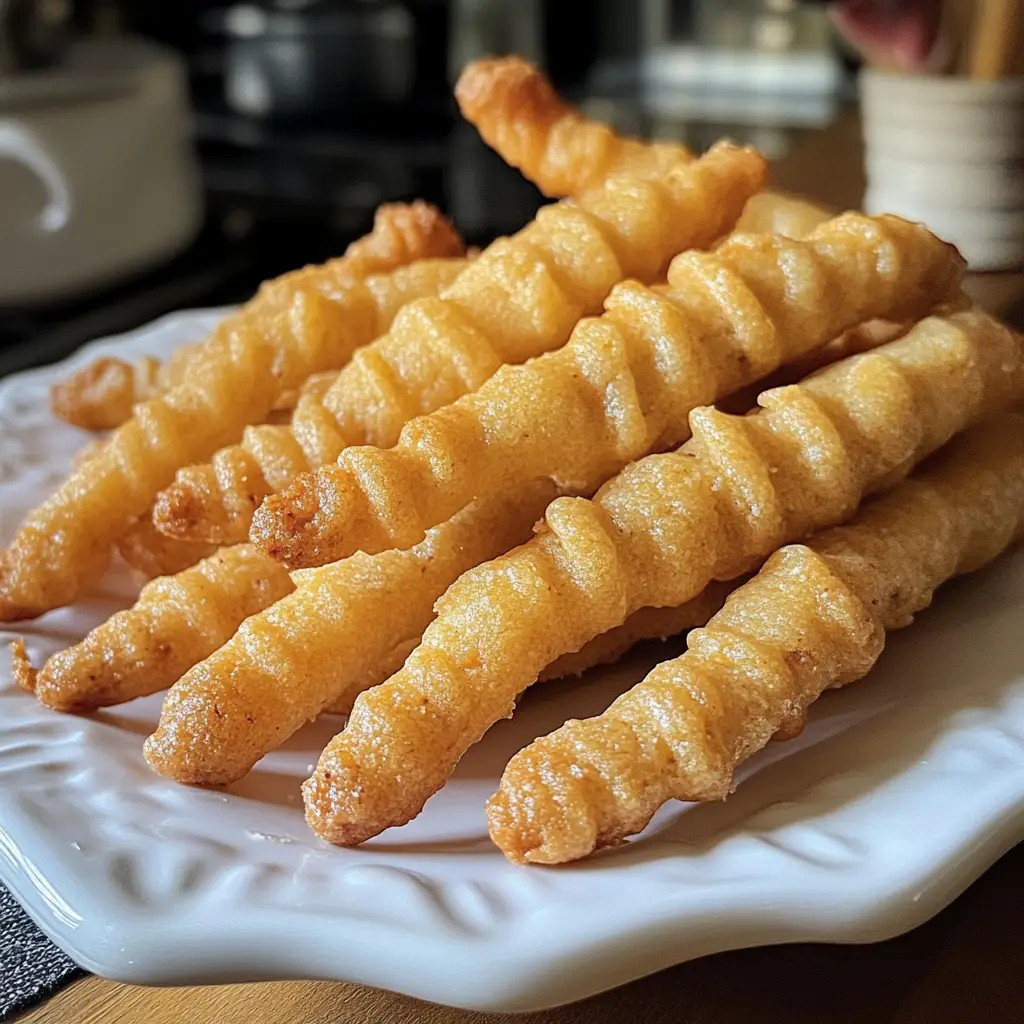
As the leaves turn and the air gets crisp, I find myself dreaming of spooky treats that bring a smile to my family’s faces. Witch Finger Cookies are just that! These delightfully eerie cookies are not only fun to make but also a quick solution for busy days leading up to Halloween. With their creepy finger-like shape and almond ‘nails,’ they’re sure to impress your loved ones. Plus, they’re a fantastic way to get the kids involved in the kitchen. Let’s dive into this deliciously spooky adventure together!
Why You’ll Love This Witch Finger Cookies
These Witch Finger Cookies are a delightful blend of ease and taste, making them perfect for busy moms like us. They come together quickly, allowing you to whip up a batch in no time. Plus, the unique shape and spooky appearance make them a hit at any Halloween gathering. Your family will love the buttery flavor, and you’ll enjoy the smiles they bring. It’s a win-win!
Ingredients for Witch Finger Cookies
Gathering the right ingredients is the first step to creating these spooky delights. Here’s what you’ll need:
- Unsalted butter: This is the base of our cookies, providing a rich, creamy flavor. Make sure it’s softened for easy mixing.
- Powdered sugar: This sweetener gives the cookies a light texture and sweetness. It blends beautifully with the butter.
- Egg: A crucial binding agent, the egg helps hold everything together while adding moisture.
- Vanilla extract: This adds a warm, comforting flavor that complements the sweetness of the cookies.
- All-purpose flour: The backbone of our cookie dough, it provides structure and stability.
- Baking powder: This leavening agent helps the cookies rise, giving them a light and airy texture.
- Salt: Just a pinch enhances the flavors and balances the sweetness.
- Whole almonds: These serve as the creepy ‘nails’ on our witch fingers, adding a delightful crunch.
- Red food coloring (optional): For those who want to add a bloody touch, this is a fun way to elevate the spooky factor!
For exact measurements, check the bottom of the article where you can find everything listed for easy printing. Happy baking!
How to Make Witch Finger Cookies
Now that we have our ingredients ready, let’s get to the fun part—making these spooky Witch Finger Cookies! Follow these simple steps, and you’ll have a batch of eerie treats in no time.
Step 1: Preheat the Oven
First things first, preheat your oven to 350°F (175°C). Preheating is crucial because it ensures that your cookies bake evenly. If you skip this step, you might end up with cookies that are burnt on the outside and raw on the inside. Trust me, no one wants that!
Step 2: Cream the Butter and Sugar
In a large bowl, cream together the softened butter and powdered sugar until the mixture is light and fluffy. This process is essential for creating a tender cookie texture. The air you incorporate while creaming helps the cookies rise beautifully. It’s like giving them a little boost of happiness!
Step 3: Add Egg and Vanilla
Next, add the egg and vanilla extract to the creamed mixture. The egg acts as a binding agent, holding everything together, while the vanilla adds a warm, inviting flavor. It’s like a cozy hug for your taste buds!
Step 4: Combine Dry Ingredients
In a separate bowl, whisk together the all-purpose flour, baking powder, and salt. Mixing dry ingredients separately helps ensure that the baking powder and salt are evenly distributed throughout the dough. This step is key to achieving that perfect cookie texture!
Step 5: Form the Dough
Gradually add the dry ingredients to the wet mixture, stirring until a dough forms. Now comes the fun part! Take small portions of dough and shape them into finger-like forms. Make them slightly thicker in the middle and taper at the ends. This will give them that creepy, witchy look!
Step 6: Add Almond ‘Nails’
Press a whole almond into the tip of each cookie to resemble a fingernail. This is where the magic happens! If you want to add a bloody effect, use a toothpick to dab a bit of red food coloring around the almond. It’s a fun way to elevate the spooky factor!
Step 7: Bake the Cookies
Place the cookies on a baking sheet lined with parchment paper and bake for 15-20 minutes. Keep an eye on them! You’ll know they’re done when they turn lightly golden. The aroma wafting through your kitchen will be simply irresistible!
Step 8: Cool and Serve
Once baked, allow the cookies to cool on the baking sheet for a few minutes before transferring them to a wire rack. Cooling is important because it helps the cookies firm up. Serve them at your Halloween gathering, and watch the delight on everyone’s faces!
Tips for Success
- Make sure your butter is softened for easy creaming.
- Chill the dough for 15 minutes if it feels too soft to shape.
- Use a toothpick to create knuckle lines for added detail.
- Experiment with different nuts for ‘nails’ if almonds aren’t your favorite.
- Store cookies in an airtight container to keep them fresh longer.
Equipment Needed
- Baking sheet: A standard one works, but a silicone mat can prevent sticking.
- Parchment paper: Great for easy cleanup; aluminum foil is a good alternative.
- Mixing bowls: Use any size, but a large bowl is best for creaming.
- Electric mixer: A hand mixer is perfect, but a whisk can do the job too.
- Cookie scoop: Optional, but it helps with uniform cookie sizes.
Variations
- For a nut-free version, substitute the almonds with chocolate chips or dried fruit for a spooky look.
- Try adding a teaspoon of almond extract for an extra layer of flavor that complements the cookies beautifully.
- For a gluten-free option, use a 1:1 gluten-free flour blend in place of all-purpose flour.
- Make them vegan by replacing the egg with a flax egg (1 tablespoon ground flaxseed mixed with 2.5 tablespoons water) and using vegan butter.
- Experiment with different food colorings to create unique spooky effects, like green or purple ‘blood’!
Serving Suggestions
- Pair these Witch Finger Cookies with a spooky punch or hot apple cider for a festive drink.
- Serve them on a platter decorated with fake spider webs for a fun Halloween presentation.
- For an extra treat, add gummy worms or chocolate spiders around the cookies.
- Consider a side of vanilla ice cream for a delightful contrast to the cookies.
FAQs about Witch Finger Cookies
As you embark on your spooky baking adventure, you might have a few questions about these Witch Finger Cookies. Here are some common queries I’ve encountered, along with helpful answers to guide you!
Can I make Witch Finger Cookies ahead of time?
Absolutely! You can prepare the dough a day in advance and store it in the fridge. Just remember to let it sit at room temperature for a few minutes before shaping. This makes it easier to work with!
What can I use instead of almonds for the ‘nails’?
If almonds aren’t your thing, you can use pecans, cashews, or even chocolate chips. Just make sure whatever you choose has a similar shape to keep the spooky vibe intact!
How should I store leftover cookies?
Store your Witch Finger Cookies in an airtight container at room temperature. They’ll stay fresh for up to a week. If you want to keep them longer, consider freezing them!
Can I use whole wheat flour instead of all-purpose flour?
Yes, you can! Just keep in mind that whole wheat flour may give the cookies a denser texture. You might want to mix it with all-purpose flour for a lighter result.
What’s the best way to decorate these cookies?
For a fun twist, you can drizzle melted chocolate over the cookies or use icing to create spooky designs. Get creative! The more eerie, the better!
Final Thoughts
Making Witch Finger Cookies is more than just baking; it’s about creating memories with your loved ones. The laughter shared while shaping the dough and the excitement of revealing these spooky treats is truly priceless. Each cookie tells a story, from the first bite to the last crumb. As you gather around the table, these eerie delights will spark joy and conversation. So, embrace the spirit of Halloween and let your creativity shine in the kitchen. I promise, these cookies will become a cherished tradition in your home, bringing smiles year after year!
PrintWitch Finger Cookies: A Spooky Treat for Halloween!
- Total Time: 50 minutes
- Yield: 24 cookies 1x
- Diet: Vegetarian
Description
Witch Finger Cookies are a spooky and delicious treat perfect for Halloween celebrations. These eerie-looking cookies are shaped like fingers and adorned with almond ‘nails’ for a frightful touch.
Ingredients
- 1 cup unsalted butter, softened
- 1 cup powdered sugar
- 1 egg
- 1 teaspoon vanilla extract
- 2 3/4 cups all-purpose flour
- 1 teaspoon baking powder
- 1/2 teaspoon salt
- 1 cup whole almonds
- Red food coloring (optional)
Instructions
- Preheat the oven to 350°F (175°C).
- In a large bowl, cream together the softened butter and powdered sugar until light and fluffy.
- Add the egg and vanilla extract, mixing until well combined.
- In a separate bowl, whisk together the flour, baking powder, and salt.
- Gradually add the dry ingredients to the wet mixture, mixing until a dough forms.
- Take small portions of dough and shape them into finger-like forms, making them slightly thicker in the middle and tapering at the ends.
- Press an almond into the tip of each cookie to resemble a fingernail.
- If desired, use red food coloring to create a ‘bloody’ effect around the almond.
- Place the cookies on a baking sheet lined with parchment paper and bake for 15-20 minutes or until lightly golden.
- Allow to cool before serving.
Notes
- For a more intense flavor, consider adding almond extract to the dough.
- These cookies can be stored in an airtight container for up to a week.
- Feel free to adjust the size of the cookies to your preference.
- Prep Time: 30 minutes
- Cook Time: 20 minutes
- Category: Dessert
- Method: Baking
- Cuisine: American
Nutrition
- Serving Size: 1 cookie
- Calories: 120
- Sugar: 5g
- Sodium: 50mg
- Fat: 7g
- Saturated Fat: 4g
- Unsaturated Fat: 2g
- Trans Fat: 0g
- Carbohydrates: 12g
- Fiber: 0g
- Protein: 2g
- Cholesterol: 20mg
Keywords: Witch Finger Cookies, Halloween Treats, Spooky Cookies, Halloween Desserts