
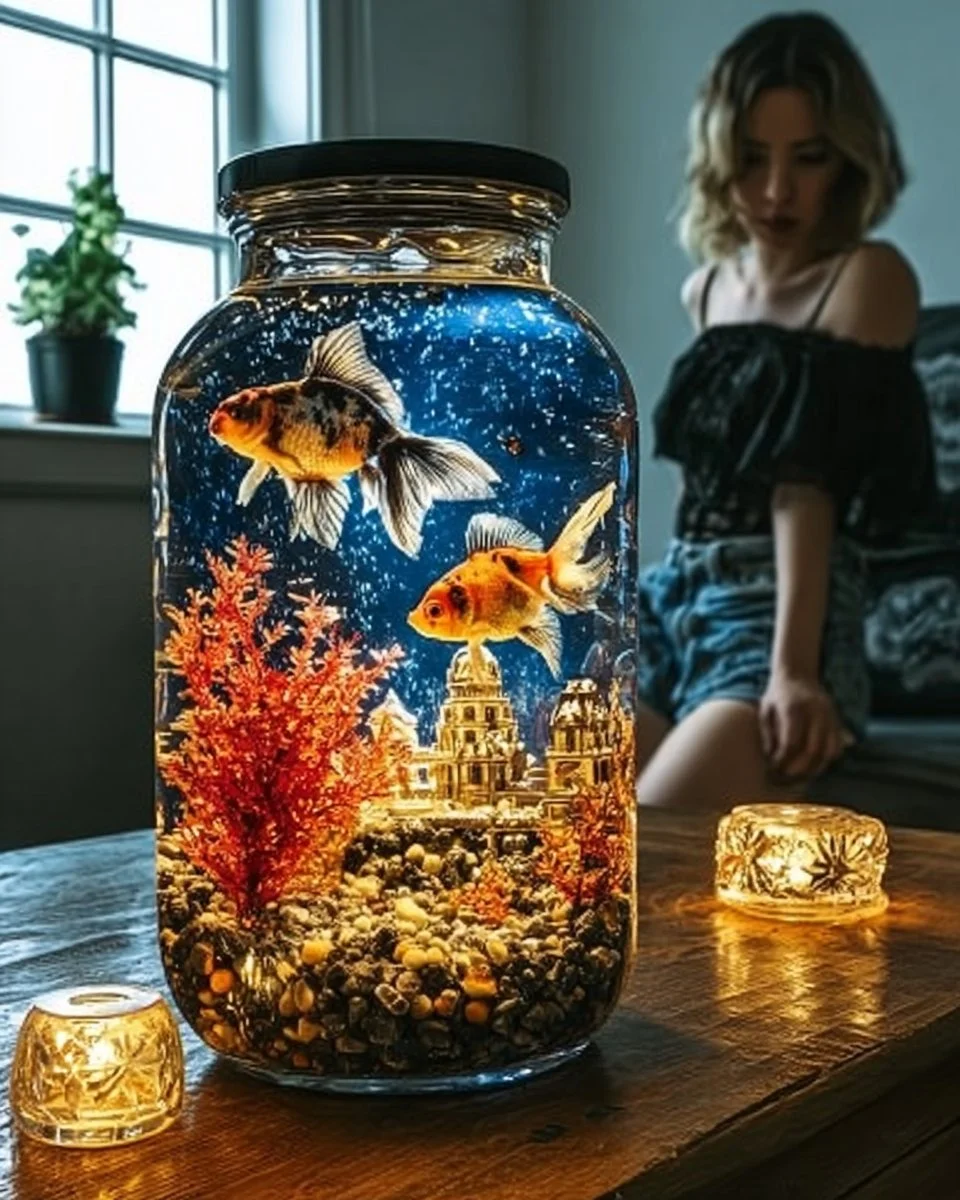
Transform Your Space with This Stunning Mason Jar Aquarium Lamp
Illuminate Your Home with a Charming Mason Jar Aquarium Lamp
Picture this: it’s a cozy evening, the soft glow of warm light dances around your living room as you gather with friends, sharing laughter and stories. Your guests marvel at a charming lamp that radiates enchantment, its flickering lights reminiscent of fireflies on a summer night. This isn’t just any lamp; it’s a delightful Mason Jar Aquarium Lamp, a whimsical creation that adds a unique touch to your home decor. It’s a conversation starter, an artistic masterpiece born from your own creativity.
In today’s digital world, where crafting has taken on new meanings, we’re rediscovering the beauty of handmade items. Crafting is not simply a hobby; it’s an experience, an exploration of imagination that invites warmth into your home. In this article, we will guide you through creating your own Mason Jar Aquarium Lamp, a project that marries simplicity and charm, offering both a rewarding crafting experience and a stunning decor piece.
Why People Love This Idea
Who wouldn’t be enchanted by the thought of transforming a simple mason jar into a stunning light fixture? This DIY project embodies creativity and personalization, perfect for anyone from the novice crafter to the advanced artist. The appeal is layered — we treasure the cozy illumination, the playful aquatic theme, and the satisfaction that comes from making something beautiful with our own hands.
Moreover, this charming lamp has an undeniable versatility. Whether placed on a bedside table, used as a centerpiece for a coffee table, or gifted to a friend, it enhances any setting with its warm tones and captivating ambiance. It’s not just a lamp; it’s a statement piece, infusing life into spaces and igniting joy. Plus, the materials are easy to procure, with the star of the show being the ever-adaptable mason jar, which evokes nostalgia and creativity in equal measure.
Benefits and Best Occasions to Use It
Creating a Mason Jar Aquarium Lamp comes with multifaceted benefits. Not only does it beautify your home, but crafting it also encourages mindfulness. There’s something uniquely calming about working with your hands, letting your creativity flow, and watching as your vision comes to life.
This DIY lamp is also ideal for various occasions:
- Housewarmings: Share a touch of your creativity as a heartfelt gift.
- Birthday Parties: Provide your guests a glimpse of your crafty side while they enjoy the warm light.
- Seasonal Decor: Switch up your additions in each season; perhaps add faux snow for winter or colorful pebbles for summer.
The beauty of this project lies in its flexibility; it can adapt to the spirit of any celebration or cozy moment.
Materials You’ll Need
To make your own Mason Jar Aquarium Lamp, gather these simple materials:
- A large mason jar: A classic choice that evokes a sense of home.
- Battery-operated LED lights: Look for warm white for a soft glow or colored lights for playful vibes.
- Clear glue: This will help secure your embellishments.
- Decorative items: Think faux underwater plants, vibrant pebbles, or even seashells.
- Optional: A small cork lid or decorative twine for a polished finishing touch.
As you gather your materials, allow a wave of creativity to wash over you, envisioning how each element will come together.
Step-by-Step Instructions
Now, let’s dive into the exciting hands-on crafting portion of our journey.
-
Prepare your jars: Start with a clean mason jar, ensuring there’s no residue or dust. This is the canvas for your creation.
-
Add decorative items: Choose your faux underwater plants and colored pebbles. Begin by layering them at the bottom of the jar; the goal is to create an appealing underwater scene. Feel free to mix and match shapes and colors!
-
Insert LED lights: Carefully place the battery-operated LED lights inside the jar with the lights oriented upward. Depending on your design, you may wish to tuck the wires among your decorative items, making everything blend seamlessly.
-
Secure everything in place: Using clear glue, gently secure the plants, pebbles, and any additional decorative items. This helps create stability and ensures they do not move around once the lamp is complete.
-
Seal the top: If using a cork lid or decorative twine, this final touch can elevate the overall look of your lamp.
-
Turn it on and enjoy: Now, turn on the LED lights and watch as the magic unfold. The soft glow will beautifully illuminate the decorations, creating a whimsical underwater scene right in your home.
Helpful Tips and Beginner Mistakes to Avoid
As with any project, a few tips can ensure your success:
- Be patient: Allow glue to dry thoroughly before moving your jar. Rushing can lead to displacement of your artistic additions.
- Experiment with layers: Don’t hesitate to play around with the arrangement of your decorative items; layering adds depth and intrigue.
- Avoid overloading the jar: While it’s tempting to cram in as many items as possible, a cluttered look can detract from the lamp’s charm.
Creative Variations
This project can be infinitely varied! Consider creating themed lamps for different rooms or occasions:
- Seasonal designs: Use colored leaves for fall, or add small ornaments for the holidays.
- Colorful beach themes: Incorporate tiny starfish, seashells, and sand for a summer feel.
- Elegant décor pieces: Use monochrome elements like silver and white textures for a sophisticated look.
Serving and Decoration Ideas
When showcasing your newly crafted lamp, think about its surroundings. Position it atop a stack of cozy books, nestle it into a bed of soft moss for a natural touch, or simply allow it to stand alone as a statement piece on a side table. The way it interacts with light can change dramatically based on placement, so don’t hesitate to experiment with different areas in your home.
Frequently Asked Questions
Can I use real plants instead of faux?
While real plants could potentially introduce a beautiful living element, they may require extra care and could affect the lifespan of the lamp.
How long will the LED lights last?
Battery-operated LED lights should last for several hours per use but check packaging for specifics. Consider using rechargeable batteries for sustainability!
Conclusion
Creating your own Mason Jar Aquarium Lamp is more than a DIY project; it’s an opportunity to breathe life into your decor and share a piece of your creativity with others. Each flicker of light becomes a story, a reminder of cozy moments spent crafting and dreaming. As you experiment and explore with this delightful project, know that it serves as an invitation for others to gather and bask in the glow of your craftsmanship.
So why wait? Roll up those sleeves, unleash your inner artist, and create a captivating ambiance in your home. Your guests will not only appreciate the unique decor but will also be inspired to create their own magical pieces. Happy crafting!
SEO Meta Description:
Discover how to craft your own Mason Jar Aquarium Lamp with our easy step-by-step guide! Illuminate your home with this charming DIY decor project that’s sure to impress.
SEO Tags:
#MasonJarLamp #DIYCrafts #HomeDecor #AquariumLamp #CraftInspiration #CreativeLighting #MasonJarIdeas