
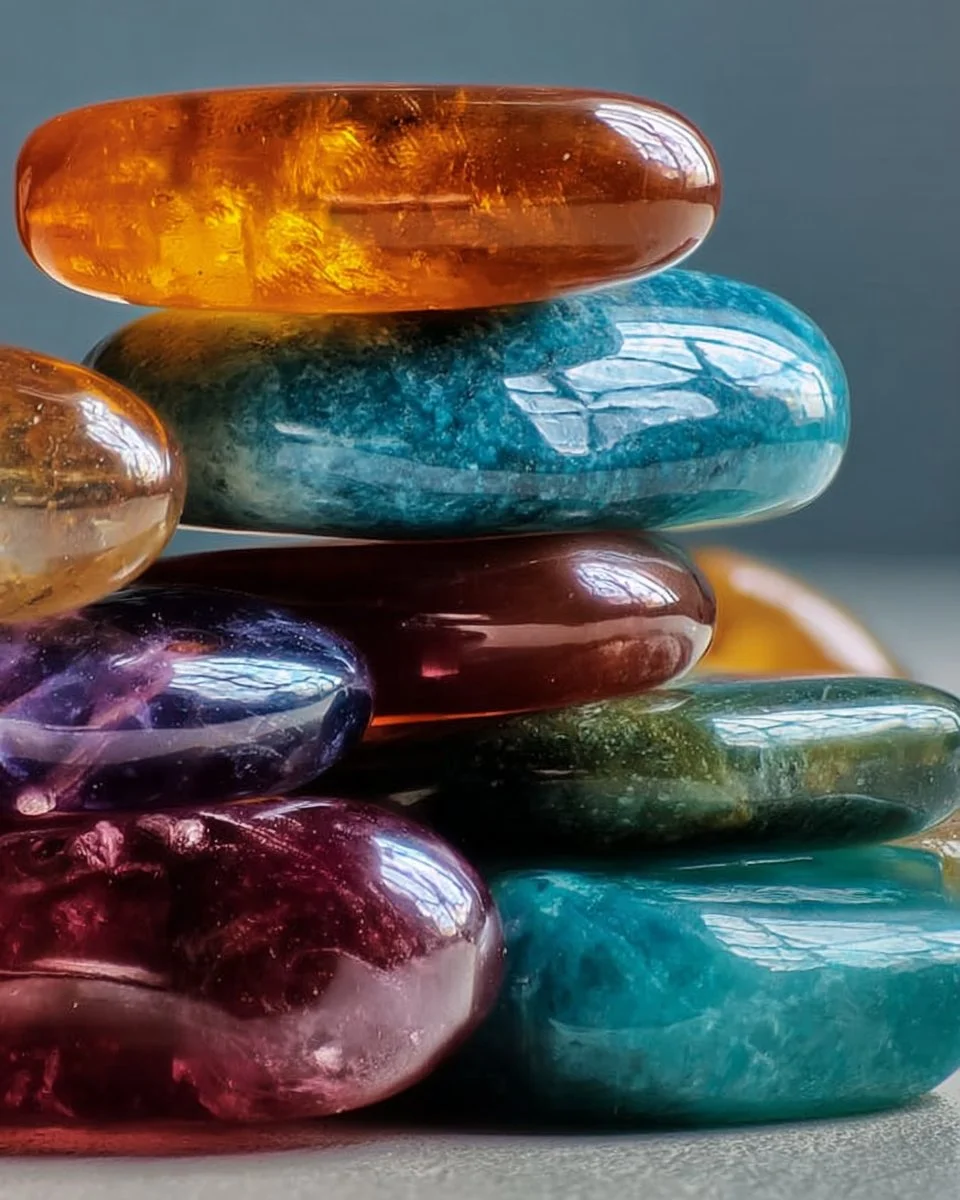
DIY Aroma Stones: Create Scented Decor Effortlessly!
A Whiff of Calm: Crafting Your Own DIY Aroma Stones
Welcome, friends! If you’re anything like me, the hustle and bustle of daily life sometimes leaves little room for relaxation. The ceaseless errands, overflowing to-do lists, and the faint hum of life’s pressures can sometimes dull our senses. The mundane can become suffocating, leaving us yearning for moments that transport us from the chaos of our everyday rhythms to a sanctuary of warmth and peace. That’s where these delightful DIY aroma stones come in! Imagine stepping into your home after a long, exhausting day and being greeted by a soft, comforting aroma that instantly wraps around you like a cozy blanket. These charming scented stones are not only easy to make, but they also infuse your space with enchanting fragrances that soothe the soul without breaking a sweat—a sweet balance of effortlessness and joy.
Why We Adore This DIY Project
In our fast-paced lives, finding simple pleasures becomes paramount. Creating aroma stones provides a beautiful creative outlet that simultaneously nurtures our senses and elevates our environment. Gone are the days of spending a fortune on aromatic candles and air fresheners that may not even deliver the expected calming effect. These homemade scents allow us to become our own perfumers, choosing aromas that resonate personally and contribute to our mental oasis.
Imagine selecting lavender for a calm, restorative afternoon, or zesty citrus for a burst of energy. Each stone you shape is not just a decoration; it’s an act of self-care, inviting your favorite scents to take center stage in your home.
The Benefits and Best Occasions to Use Aroma Stones
Utilizing homemade aroma stones is a delightful way to enhance any moment. Perhaps you’re hosting a cozy gathering with friends, and the subtle scent of eucalyptus wafts through the air, encouraging conversation and laughter. Or maybe you want to create a serene atmosphere for a self-care evening, with stones infused with chamomile to soothe your mind as you indulge in a long bath. The options are as diverse as your mood.
These stones are subtle yet effective. You can scatter them throughout your home—on windowsills, bedside tables, or even bathroom shelves. They complement any décor while also being functional. In contrast to commercial scents that can overpower or clash with your living space, DIY aroma stones inherently blend with your vibe, creating harmony.
Gather Your Supplies
Creating aroma stones requires surprisingly few materials, but oh, the joy they can bring! Here’s what you’ll need:
- Baking soda: This multipurpose ingredient works wonders in creating a sturdy stone while naturally absorbing odors.
- Cornstarch: Complementing baking soda, cornstarch helps achieve the right consistency to mold the stones.
- Water: The critical binding agent; be cautious with this ingredient—too much can hinder your creation!
- Essential oils: Here’s where the magic truly happens. Choose scents that inspire you—lavender, lemon, or peppermint—you can even blend them!
- Cookie cutters or molds: Get creative! Use shapes that reflect your personality or seasonal themes.
Gathering these supplies is an exciting precursor to the aromatic journey you’re about to embark on.
Let’s Create Our Aroma Stones!
1. Mix and Stir
In a large bowl, combine 1 cup of baking soda and 1/2 cup of cornstarch. This irresistible combination will form the foundation of your stones. Picture the fine grains dancing together, merging into a soft, snowy texture.
2. Add Water Gradually
Mix in about 3/4 cup of water, pouring it gradually. Gently stir the mixture until it resembles a thick, moldable dough. As the ingredients blend, envision the beautiful shapes your stones will take—the act of crafting begins to weave your idea into reality.
3. Infuse with Scent
Now comes the fun part! Add around 10-15 drops of your chosen essential oil(s). Perhaps you’ve selected lavender for tranquility—let its calming fragrance permeate through the mixture as you fold it in gently. Take a moment to breathe in deeply, allowing the scent to inspire your thoughts and feelings.
4. Mold Your Stones
Take spoonfuls of the mixture and pack them firmly into your chosen molds or cookie cutters. Feel free to let your children join in; it’s a wonderful bonding experience that doubles the joy. Their laughter and excitement will amplify the happiness embedded in each piece.
5. Dry Time
Allow your stones to air dry for 24-48 hours. This waiting period invites anticipation as you begin to envision where these stones will reside in your home. For quicker drying, you can place them in an oven set to the lowest temperature, but keep an eye on them!
Helpful Tips to Enhance Your Experience
- Experiment with Blends: Don’t hesitate to mix different essential oils! A delightful combination could be sweet orange with a hint of refreshing mint.
- Create Seasonal Stones: Customize your creations to reflect the seasons. Spicy cinnamon can evoke the warmth of fall, while floral scents mirror the blossoming joy of spring.
Common Pitfalls to Avoid
One common mistake is to rush the drying process. While it might be tempting to hasten the final steps, patience is key to achieving a perfectly formed stone. If your stones aren’t drying correctly, you may have inadvertently added too much water.
Creative Variations
The world of aroma stones is vast and full of potential! You can add natural colorings to give your stones a personal touch. A sprinkle of beet juice or spirulina can provide a gorgeous hue, turning these stones into eye-catching decor as well as lovely scent dispersers.
Serving and Decoration Ideas
Display your stones beautifully! Nestle them in a decorative dish on your coffee table or arrange them strategically on your nightstand to delight your senses as you drift into slumber. Consider pairing them with other natural elements—like pinecones or seasonal blooms—to craft a visually stunning ambiance that tells a story.
Maintaining the Aroma
As time goes by, if the scent begins to fade, a light refresh is all you need. A couple of drops of essential oil applied to the stones will revive their fragrance, keeping the calm flowing in your sanctuary.
Frequently Asked Questions
-
How long do these aroma stones last?
If kept away from direct sunlight and moisture, they can last several weeks to a few months, depending on the essential oils used. -
Can I make them for gifts?
Absolutely! These lovely homemade creations make beautiful and thoughtful gifts, especially when presented in a charming box with a personalized note.
Conclusion: An Invitation to Delight
As you embark on this fragrant adventure and spin your own delightful aroma stones, take time to reflect on the joy of creating. Each stone not only brings an enchanting aroma to your home but also signifies moments spent crafting, laughing, and bonding with those you cherish. Let the act of making ground you amid the whirlwind of life, reminding you that serenity is just a breath away, swaddled in the comforting scents of your unique creations.
So gather your materials and invite others to join you; soon, you’ll find that the simple act of crafting these stones cultivates deeper connections, creative freedom, and a touch of tranquility in your day-to-day life. Happy crafting!
Meta Description: Discover the joy of crafting DIY aroma stones! Easy to make and perfect for creating a calming atmosphere at home, these scented gems enhance relaxation and creativity.
SEO Tags: DIY aroma stones, homemade air fresheners, essential oil crafts, family activities, home fragrance, scented decor, relaxing crafts.