
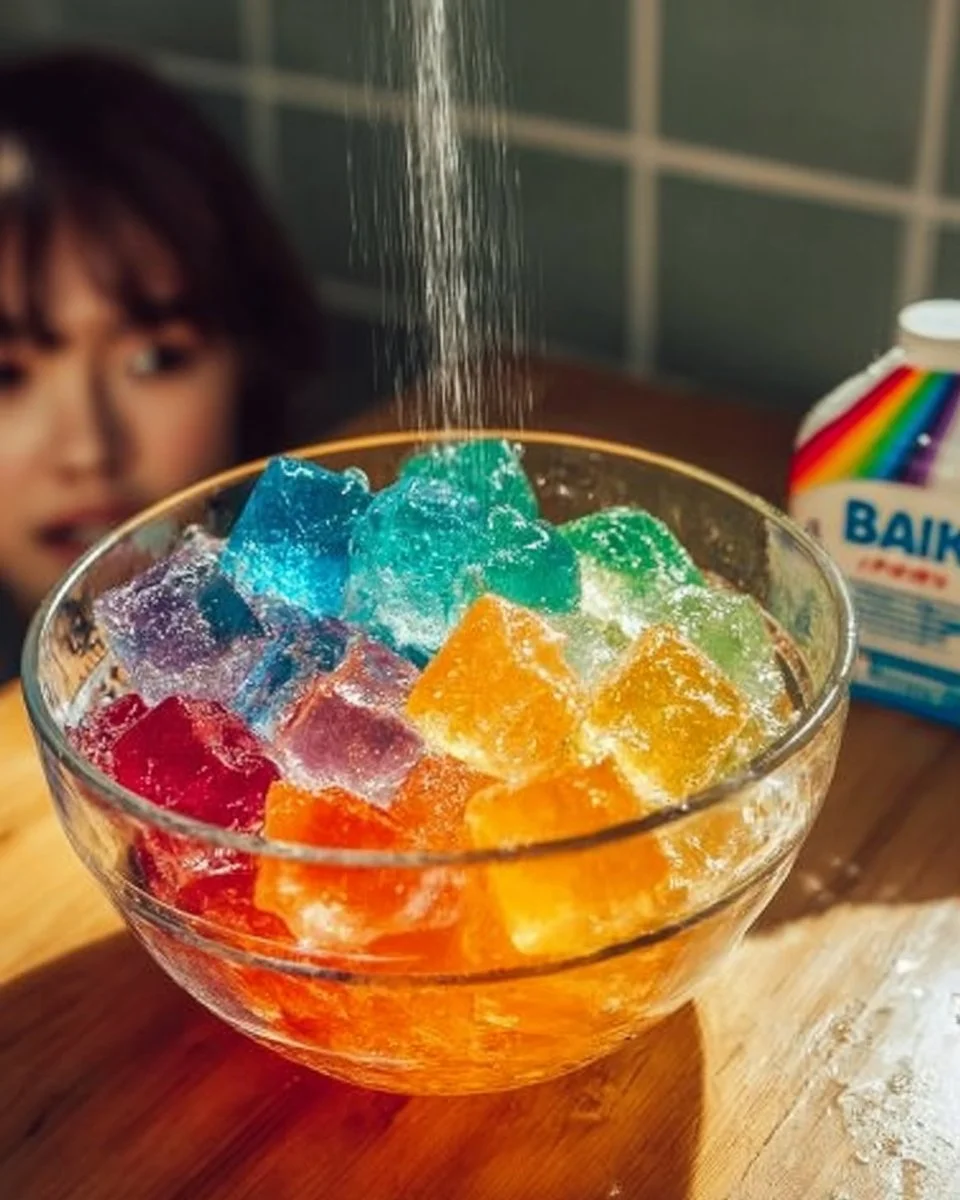
Create Colorful Fizzing Ice Cubes – Fun Science Experiment for Kids
A Splash of Color and Science: Make Fizzing Ice Cubes with Your Little Scientists!
On a bright, sunny afternoon, the aroma of freshly baked cookies mingles with the laughter of children playing outside. The warmth of summer fills the air, but the midday sun is relentless. Parents everywhere find themselves searching for innovative ways to keep their kids entertained and engaged. What if I told you that the solution lies within your kitchen? Let’s dive into an exciting, hands-on activity that blends fun with learning: creating fizzing ice cubes with just a few simple ingredients.
Imagine the look on your child’s face as they witness vibrant colors bubbling and fizzing before their eyes! This delightful experiment not only sparks curiosity but also introduces your children to basic chemical reactions, all while they’re having a blast. Let’s embark on this colorful journey together!
Why People Love This Idea
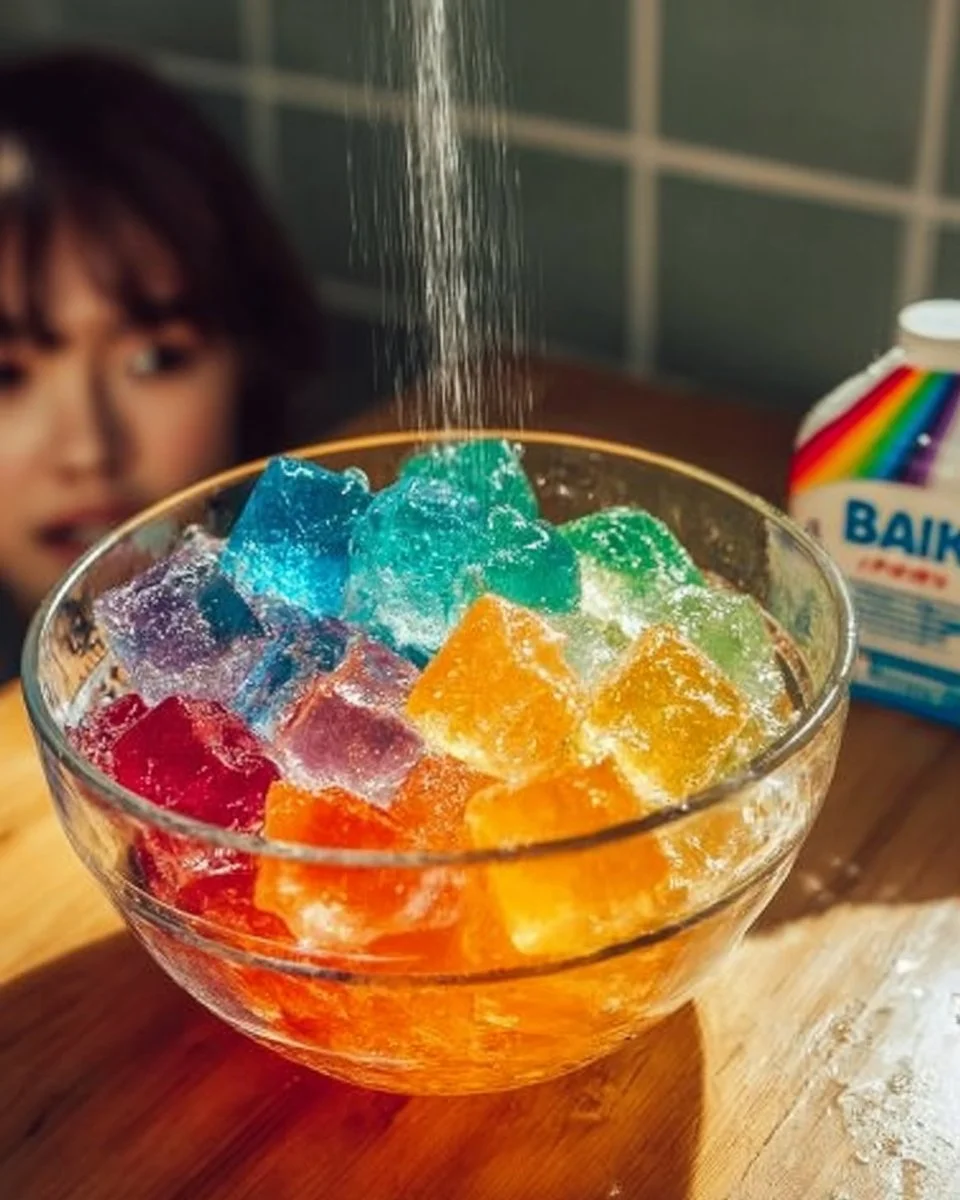
The joy of creating fizzing ice cubes is deeply rooted in the sheer excitement they invoke. Kids are naturally inquisitive, and this project allow them to explore the wonders of science without realizing they’re actually learning! The colorful spectacle captivates their attention, and the effective visual effects—fizzing, bubbling, and melting—make it an unforgettable experience.
Parents appreciate the simplicity of the project, which uses common kitchen staples—baking soda and food coloring! This means that you don’t need to rush to a specialty store or spend a fortune. Instead, you can transform an ordinary afternoon into an extraordinary one—your kids will be giddy with delight as they create, explore, and most importantly, learn.
Benefits and Best Occasions to Use It
Why should you consider making fizzing ice cubes with your kids? First and foremost, this wonderfully simple project nurtures their budding scientific minds and promotes active participation. Children can observe the reaction triggered by the baking soda interacting with vinegar, fostering a sense of wonder and appreciation for science.
What’s more, it’s an ideal activity for a variety of occasions:
- Summer Parties: Keep everyone cool and entertained!
- Birthday Celebrations: Add a creative twist to any party theme!
- Rainy Days: Perfect for indoor fun when the weather threatens outdoor plans.
- Family Bonding: Strengthens relationships through shared experiences.
The beauty of fizzing ice cubes lies not just in their visual appeal, but in the joy of discovery they lead to—which is perhaps the best benefit of all.
Materials You’ll Need
Gathering supplies for this experiment is a breeze, ensuring that you and your children can dive right into the fun:
- Baking soda: The star ingredient of our fizzing magic!
- Water: The medium through which our colors will dance.
- Food coloring: Choose vibrant hues that ignite excitement.
- Ice cube tray: To mold our colorful creations.
- Vinegar: For the fizzy reaction—this is the secret potion!
- A shallow tray or container: To catch the fizzing magic as it unfolds.
Feel free to get creative with your ingredients. Perhaps add some glitter or even scented extracts for a new sensory experience!
Step-by-Step Instructions
Ready to make some science magic? Let’s dive into the steps:
-
Prepare the Ice Cubes: Start by mixing 1 cup of water with ½ cup of baking soda in a mixing bowl. Whisk them together until combined—this will be the base of your ice cubes! Then, divide the mixture into separate cups or bowls and add a few drops of your chosen food coloring. Let your children concoct their dream colors.
-
Pour into the Ice Tray: Carefully pour the colorful mixture into the ice cube tray. Don’t be afraid to mix and match colors; after all, a tie-dye ice cube sound pretty fun!
-
Freeze Away: Place the tray in the freezer. Allow the cubes to freeze for at least 4 hours or until solid. This is a perfect time to engage your kids in other activities while waiting—perhaps storytelling or crafting while the anticipation builds!
-
The Fizzy Fun: Once frozen, pop out the colorful ice cubes and place them in a shallow tray. Pour vinegar over them and watch the fizzing explosion! It’s like a miniature fireworks display right before your eyes.
-
Enjoy the Science: Encourage your kids to observe the reaction, describe what they see and offer insights into what’s happening. Allow them to ask questions and share ideas—these moments of exchange are priceless!
Helpful Tips to Elevate the Experience
- Experiment with quantities: A tablespoon of baking soda to every 2 tablespoons of water typically works well, but tweaking ratios can yield different results.
- Color Play: Mix colors for a marbled effect; consider creating seasonal colors for themed celebrations!
- Keep a Camera Handy: Capture the joy! These smiles will bring you warmth every time you look back on them.
Beginner Mistakes to Avoid
While this is a straightforward project, a few common pitfalls might surprise you:
- Too Much Water: Adding excessive liquid can lead to cubes that won’t freeze properly, resulting in a soupy mess instead of vibrant ice sculptures. You want a slushy consistency, not a puddle!
- Skipping the Tray: You might feel tempted to use something else; however, an ice cube tray is essential for that perfect shape and size.
- Not Watching Closely: It can be exciting to make a big show out of it, but keeping a close eye on the reaction is part of the fun. You wouldn’t want to miss the spectacular fizz!
Creative Variations
Once you and your little scientists have mastered the traditional fizzing cubes, why not take it a step further?
- Add scents: Infuse your ice cubes with natural fruit juices or extracts for a sensory twist.
- Surprise Fillings: Place small plastic toys inside before freezing—they will add an extra layer of excitement during the big fizz reveal!
- Layered Colors: Pour different colors of your baking soda mixture into the tray layer by layer for a splendid rainbow effect.
Presentation Ideas
Consider presenting your fizzing cubes on a vibrant tray or outside on a picnic blanket. Add some whimsical elements—a few sprigs of mint or colorful straws—and set the scene for an outdoor science party!
Frequently Asked Questions
Can I make this activity indoors?
Absolutely! Just be prepared for possible spills—lay down a waterproof tablecloth or perform the activity in a space easy to clean.
What ages is this project suitable for?
Fizzing ice cubes can captivate children as young as three, but older children might appreciate diving deeper into the scientific explanation of the reaction.
What is the science behind the fizz?
The phenomenon occurs due to the reaction between baking soda (a base) and vinegar (an acid), producing carbon dioxide gas—a key player in the fizzing spectacle!
Final Thoughts
Making fizzing ice cubes is not just an activity; it’s a delightful bonding experience filled with joy, laughter, and learning. Whether it’s a sunny summer day or a cozy rainy afternoon, this simple project acts as a bridge to new knowledge, endless fun, and exquisite creativity.
So, don your lab coats (or aprons), gather your ingredients, and get ready for a colorful science adventure your little scientists will remember for years to come. The best part? You’ll be creating lasting memories together—each bubble a reminder of the joy of discovery. Now, go ahead and embark on your fizzing journey, and watch the magic unfold right before your eyes!
Meta Description: Discover the colorful world of fizzing ice cubes! Engage kids in this fun and educational science experiment with simple ingredients like baking soda and food coloring. Perfect for parties or curious minds!
SEO Tags: #FizzingIceCubes #KidsActivities #ScienceExperiments #BakingSodaFun #ColorfulLearning #FamilyBonding #STEMFun