
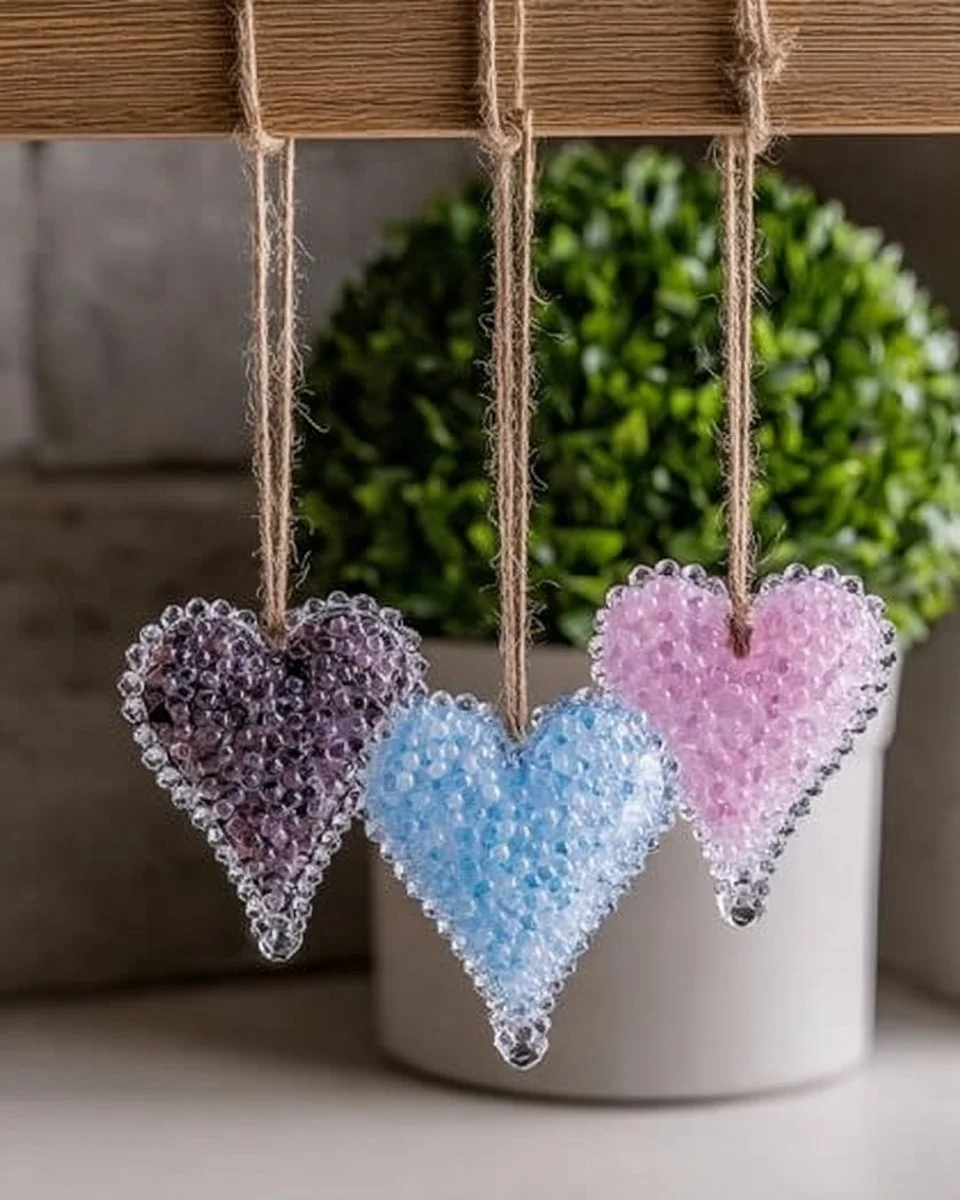
Create Stunning DIY Borax Crystals with Just 3 Simple Ingredients
Transform Your Space with Elegant DIY Borax Crystals
Have you ever walked into a room and felt like something was missing? Perhaps it’s an air of enchantment, a touch of nature, or simply a dash of creativity. Imagine hosting a casual gathering, where your guests are captivated not just by your charming demeanor but also by the stunning crystalline decor that dances in the warm light. This is the magic of Borax crystals—simple yet beautifully transformative.
Creating your own exquisite Borax crystals offers a satisfying blend of artistry and science, making it a perfect project for both adults and children alike. All you need are a few basic ingredients already likely nestled in your pantry: Borax powder, boiling water, and a glass jar. In this article, I’ll take you on a journey through crafting these stunning crystals—let’s transform your space into a shimmering sanctuary together!
Why People Love This Idea
The allure of Borax crystals is multi-faceted. They embody summer-like whimsy with their dazzling, jewel-like appearance, reminiscent of a sunlit garden or an intricate ice sculpture. There’s something inherently nostalgic about DIY projects that harken back to our childhood, a time when creativity flowed freely and experimentation felt like an adventure waiting to unfold.
In today’s fast-paced world, many of us yearn to reconnect with that child-like wonder and simplicity. With every meticulously crafted crystal, you’ll discover the pleasure of watching something beautiful emerge from a straightforward process—an emotional satisfaction that is just as vibrant as the crystals themselves. Plus, these lovely additions can easily elevate your home décor, bringing a touch of elegance and artistry to any room.
Benefits and Best Occasions to Use Borax Crystals
The beauty of Borax crystals isn’t solely in their aesthetic appeal; they also serve a variety of purposes. Here are just a few reasons why you should embrace this delightful DIY project:
- Eco-Friendly Decor: Unlike plastic trinkets that clutter our spaces, Borax crystals are biodegradable and can be made to suit any color palette you desire.
- Learning Experience: This project is an excellent opportunity for kids to engage in science firsthand. You can explore concepts such as supersaturation, crystallization, and more—all while creating something beautiful.
- Perfect for Holidays and Celebrations: Whether it’s a festive winter gathering or a summer soirée, Borax crystals can be customized to fit the theme, lending an ethereal quality to your decorations.
Materials You’ll Need
Before diving into this captivating project, let’s gather our supplies. You’ll need:
- Borax Powder: This is your magical ingredient—don’t be misled by its humble appearance!
- Boiling Water: The heat is essential for dissolving the Borax effectively.
- Glass Jar: Preferably clear, to allow the crystals to be fully visible as they form.
- String or Pipe Cleaner: You can use these to create shapes or structures within your jar.
- A Pencil: To suspend your string or pipe cleaner inside the jar.
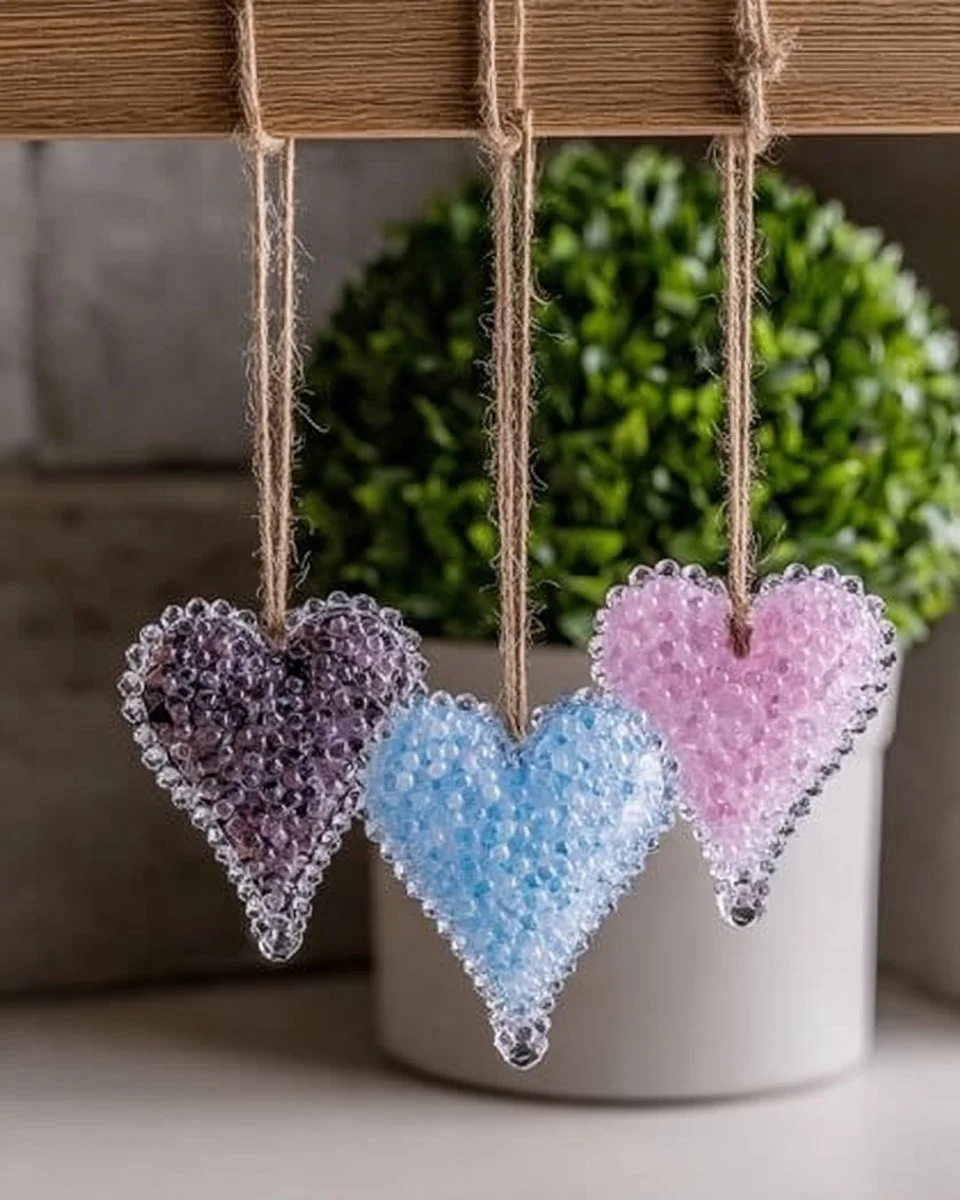
While these materials are easily accessible, the excitement lies in the possibilities. Can you envision making hearts, stars or even abstract shapes to hang in your windows? Let your imagination be your guide!
Step-by-Step Instructions
Let’s embark on this crafting adventure together! Here’s how to create your very own Borax crystals:
-
Boil the Water: Start by bringing a cup of water to a rolling boil. The heat is crucial in dissolving the Borax, so don’t rush this step!
-
Mix in Borax: Carefully add three tablespoons of Borax powder to your boiling water. Stir well until the powder completely dissolves. The solution should appear clear, like an enchanted potion ready to work its magic.
-
Preparing Your Vessel: While the water is still hot, take your glass jar and attach your string or pipe cleaner to the pencil. Position the pencil horizontally across the top of the jar so that the string hangs down into the solution without touching the sides or bottom.
-
Pour and Wait: Pour your Borax solution into the glass jar, ensuring that the string or pipe cleaner is submerged. Cover the jar with a paper towel to keep dust at bay and allow it to sit undisturbed for several hours, or ideally overnight.
-
Reveal Your Crystals: After your designated waiting period, carefully remove the crystal from the jar. Rinse it gently under cold water to remove any residue, and let it dry on a clean surface.
Helpful Tips
As with any craft, there are a few nuances to perfecting your Borax crystal creation:
- If you find your crystals aren’t forming as impressively as you’d hoped, try letting them sit longer or using more Borax in your solution.
- Keep an eye on temperature; a cooler room allows for larger, more defined crystals.
- Experiment with food coloring or glitter in your Borax solution to create a dazzling effect—it’s your creation, make it personal!
Beginner Mistakes to Avoid
While crafting doesn’t have to be perfect, here are some common pitfalls to be aware of:
- Overcrowding the Jar: Imagine a crowded dance floor, where no one can move—your crystals can experience this too! Ensure that you have ample space for growth.
- Improper Measuring: Too much water can dilute your solution, while too little can lead to frustration when your crystals fail to form.
Creative Variations
The beauty of Borax crystals lies in their versatility. Want to add a twist? Here are some fun ideas:
- Colorful Crystals: Add a few drops of food coloring into your boiling mixture. You can make a vibrant rainbow of crystals!
- Themed Shapes: Use cookie cutters or mold the pipe cleaners into whimsical designs like stars or flowers for thematic decor.
Serving/Decoration/Presentation Ideas
Once your crystals are ready, it’s time to showcase your creations! Consider these presentation ideas:
- Hanging Ornaments: Suspend your Borax crystals in windows or from ceiling hooks using fishing line—they catch the light beautifully.
- Centerpieces: Display several together in a clear bowl filled with sand or pebbles for a stunning, organic centerpiece.
Storage and Maintenance Tips
These stunning crystals are delicate; handle them with care. If you want to preserve them, keep them in a dust-free area or gently wrap them in tissue paper. Display them only when you want to appreciate their beauty, as light and humidity can alter their dazzling appearance over time.
Frequently Asked Questions
Can I reuse the Borax solution?
No, the crystals form from a supersaturated solution. Reusing the water will likely lead to less impressive results, as the saturation has already been altered.
Will the crystals dissolve if left in water?
Yes, they will slowly dissolve, so it’s best to keep your display pieces dry!
Final Thoughts
There’s an indescribable thrill in creating something beautiful with your own hands. With Borax crystals, you’re not just crafting decor; you’re also weaving memories filled with laughter, wonder, and a sense of accomplishment. Whether you’re decorating for a special occasion or simply cultivating a calming atmosphere in your home, these enchanting crystals add a touch of whimsy.
So gather your supplies, invite a friend or family member for a crafting afternoon, and let the magic of crystallization unfold. Unleash your creativity, and remember—the real beauty lies not only in the crystals but in the joy of creating something uniquely yours. Happy crafting!
Meta Description: Transform your space with elegant DIY Borax crystals! This easy step-by-step guide takes you through crafting beautiful crystals with just Borax powder, boiling water, and a glass jar—a perfect home decor project or science adventure for kids!
SEO Tags: #BoraxCrystals #DIYCraft #HomeDecor #CrystalArt #CraftingWithKids #EcoFriendlyDecor #CreativeDIY