
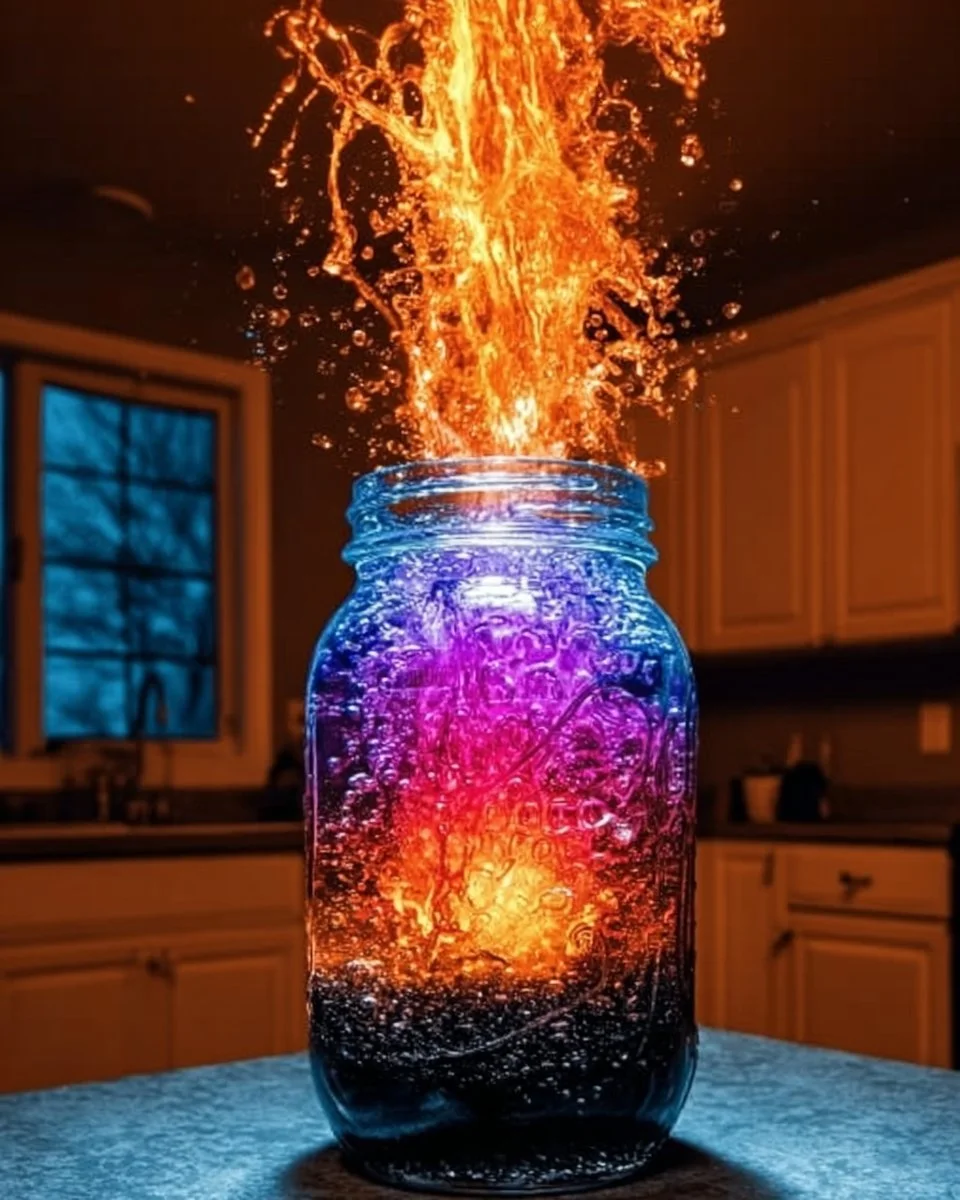
Create a Glow Bubble Explosion in a Jar: A Fun DIY Project
Transform Your Creativity Into a Captivating Experience With Glow Bubble Explosion in a Jar!
Imagine this: a cozy Saturday evening, the sun setting gently behind the trees, providing a warm, golden glow as laughter and squeals of delight fill the air. It’s a moment full of promise, where creativity takes center stage. You find yourself surrounded by loved ones, ready to embark on a whimsical journey of DIY crafting. It’s the perfect time to ignite your imagination and create something magical—our Glow Bubble Explosion in a Jar!
This enchanting project isn’t just for the kids; it’s a delightful experience for all ages. Whether you’re planning a colorful birthday bash or enjoying a snug family night, this simple craft promises to transform your space into a mesmerizing display of glowing bubbles. So, gather your materials, and let’s dive into this enchanting creative adventure together!
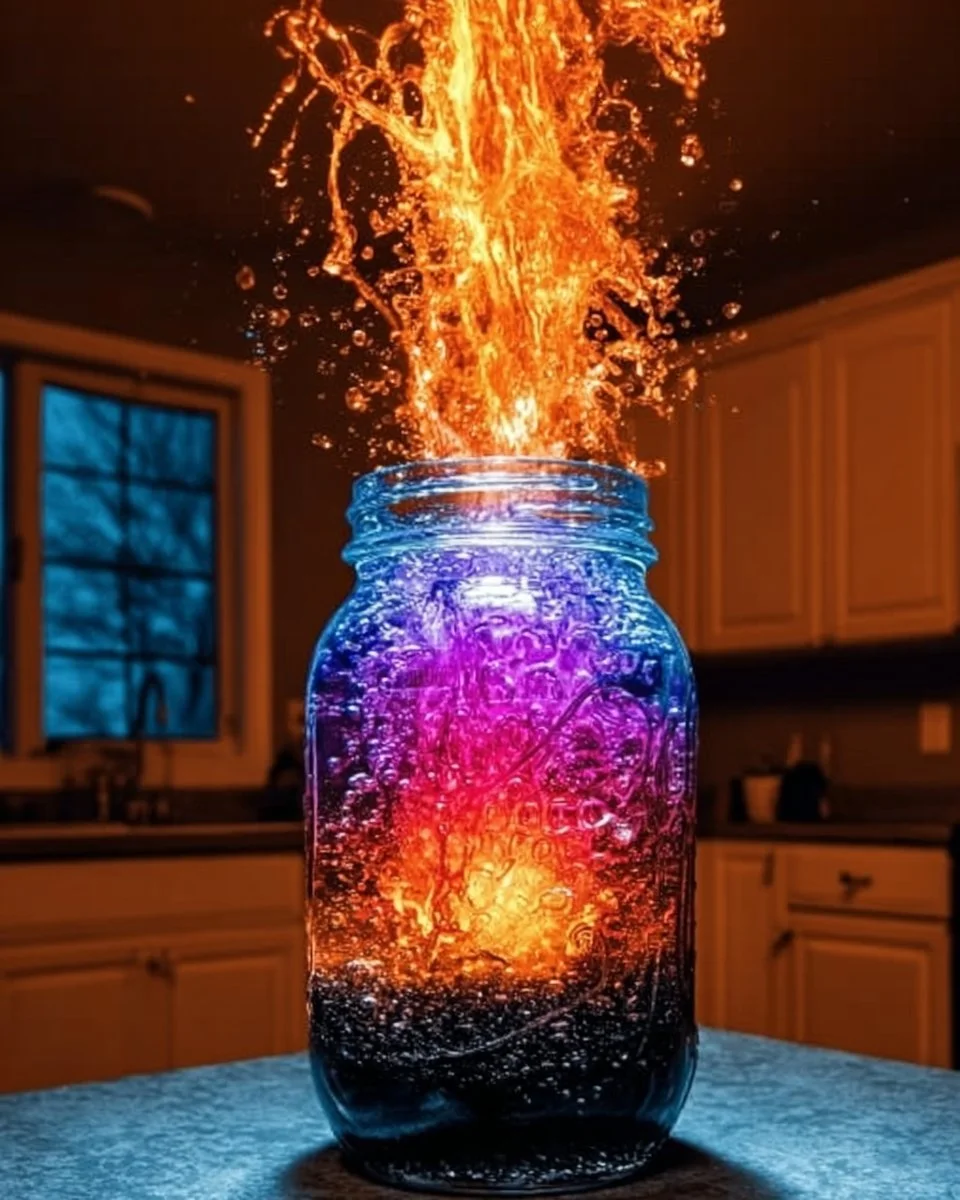
Why We Adore This DIY Project
One of the reasons this Glow Bubble Explosion project has captured the hearts of many is its sheer simplicity. It invites everyone to roll up their sleeves and get involved, whether you’re a crafting novice or a seasoned DIY enthusiast. The allure of glowing bubbles dancing merrily in their jar evokes a sense of wonder, reminiscent of childhood innocence and curiosity.
Imagine the joy on your child’s face as they witness the vibrant colors swirling and bubbling in the jar. The way it lights up their eyes, igniting their desire to explore and create, is a heartwarming experience that goes beyond just crafting. It’s about making memories that shine as bright as the glowing bubbles themselves.
Perfect Occasions for This Captivating Activity
From birthday parties to family gatherings, the Glow Bubble Explosion in a Jar is a versatile centerpiece that perfectly fits various occasions:
- Birthday Parties: Create a vibrant ambiance with multiple jars scattered around to enthrall guests of all ages.
- Family Craft Nights: Bond as you craft together, sharing laughter and stories amidst the bubbling fun.
- Seasonal Celebrations: Embrace the spirit of warmth and joy during holidays like Halloween or summer BBQs.
- Themed Events: A fantastical fairy-themed gathering wouldn’t be complete without a bright, glowing display!
Gather Your Materials
Before we embark on this colorful adventure, let’s gather our supplies. You’ll be pleased to find that everything you need is quite simple and easy to acquire. Here’s what you’ll need to bring your Glow Bubble Explosion to life:
- Clear Jar with Lid: Choose a size that fits comfortably in your hands and showcases the bubbling magic! A mason jar works splendidly.
- Warm Water: About halfway filled in the jar, this will allow our bubbles to float and dance freely.
- Dish Soap: A few squirts will create the creamy lather that makes this project truly mesmerizing.
- Glycerin: This magical ingredient helps our bubbles last longer, allowing you to enjoy the spectacle.
- Glow in the Dark Paint: The star of our show! Choose vibrant hues to illuminate the bubbles in the dark.
- Craft Stick or Spoon: For gentle mixing and ensuring everything comes together seamlessly.
Step-by-Step Instructions
Now that we have our materials ready, let’s dive into the steps that will guide you through this delightful experience.
- Prepare the Jar: Start by adding warm water to your jar, filling it halfway.
- Mix in the Dish Soap: Add a few squirts of dish soap to the water and stir gently. Avoid too much agitation to prevent bubbles from forming just yet!
- Add the Glycerin: Gently incorporate about a tablespoon of glycerin. This will give our bubbles that desired longevity.
- Incorporate the Glow Paint: Now comes the fun part! Using your craft stick or spoon, stir in a few spoonfuls of glow in the dark paint. Watch as the concoction transforms into a beautiful blend of colors.
- Seal the Jar: Place the lid on your jar and let it sit for a moment. The mixture will start forming a bubbly layer as the soap begins to work its magic.
- Illuminate the Bubbles: Charge your jar under a light source for a few minutes, then turn off the lights and witness the magic unfold!
Helpful Tips for a Flawless Experience
To make your Glow Bubble Explosion truly splendid, consider these handy tips:
- Choose Non-Toxic Materials: When selecting your glow paint, ensure it’s safe for all ages.
- Experiment with Colors: Mix and match different shades of paint to create a colorful spectrum.
- Make a Playground of Jars: Place several jars around your space for an enchanting atmosphere.
- Timing is Key: Allow the mixture to sit for a few minutes after sealing to create ideal bubble conditions.
Mistakes to Avoid
As with any creative project, mistakes can happen. Here are a few common pitfalls to steer clear of:
- Over-Mixing: Stir gently to prevent premature bubbles from forming.
- Insufficient Glycerin: If you notice your bubbles popping quickly, try adding a touch more glycerin next time.
- Using Regular Paint: Ensure you’re using glow in the dark paint specifically, or your project might not shine!
Explore Creative Variations
Why stop at the basic version? Feel free to unleash your creativity! Discover exciting variations by:
- Adding Glitter: Give your bubbles a magical sparkle by stirring in some biodegradable glitter!
- Layering Colors: Create layers with different colored mixtures. The more, the merrier!
- Seasonal Themes: Use colors that match the seasons—think warm oranges and deep purples for autumn, or icy blues for winter.
Presentation Ideas
For a truly enchanting display, think about how you might showcase your glowing creations. Place your jars on a mirrored tray to amplify their glow, or position them on a bed of fairy lights for a dreamy atmosphere. Consider adorning the jar with ribbons or stickers to align with your event theme, making each piece a stunning centerpiece.
Storage and Maintenance Tips
Although your Glow Bubble Explosion jars are designed for immediate enjoyment, if you want to preserve the mixture, simply store it in a cool, dry area. Ensure the lid is tightly sealed to prevent drying out. But nothing quite beats the freshly prepared, mesmerizing glow of just-created jars!
Frequently Asked Questions
Can I refill my jar?
Absolutely! You can create multiple batches if you want to refresh or change the contents.
Will the bubbles last forever?
Not quite. While the glycerin helps, bubbles do eventually pop. Use your jars well after you create them for the best experience!
Is this project suitable for all ages?
It certainly is! Just keep an eye on younger children during the crafting process to ensure safety.
Let the Fun Begin!
As we conclude our imaginative journey, it’s time to awaken your creative spirit and try your hand at this delightful Glow Bubble Explosion in a Jar. The joy of crafting something magical with loved ones is unparalleled. Each glance at those glowing bubbles will not only brighten your space but also bring a warm smile to your face and memories that will linger long after the bubbles have popped. So, grab your materials, gather your family, and prepare for an explosion of fun and creativity that’s simply waiting to be made. Happy crafting!
Meta Description: Dive into our enchanting Glow Bubble Explosion in a Jar DIY project! Perfect for all ages, this colorful experience lights up any space and creates delightful memories.
SEO Tags: Glow Bubbles, DIY Crafts, Family Fun, Home Decor, Creative Projects, Kids Activities, Party Ideas