
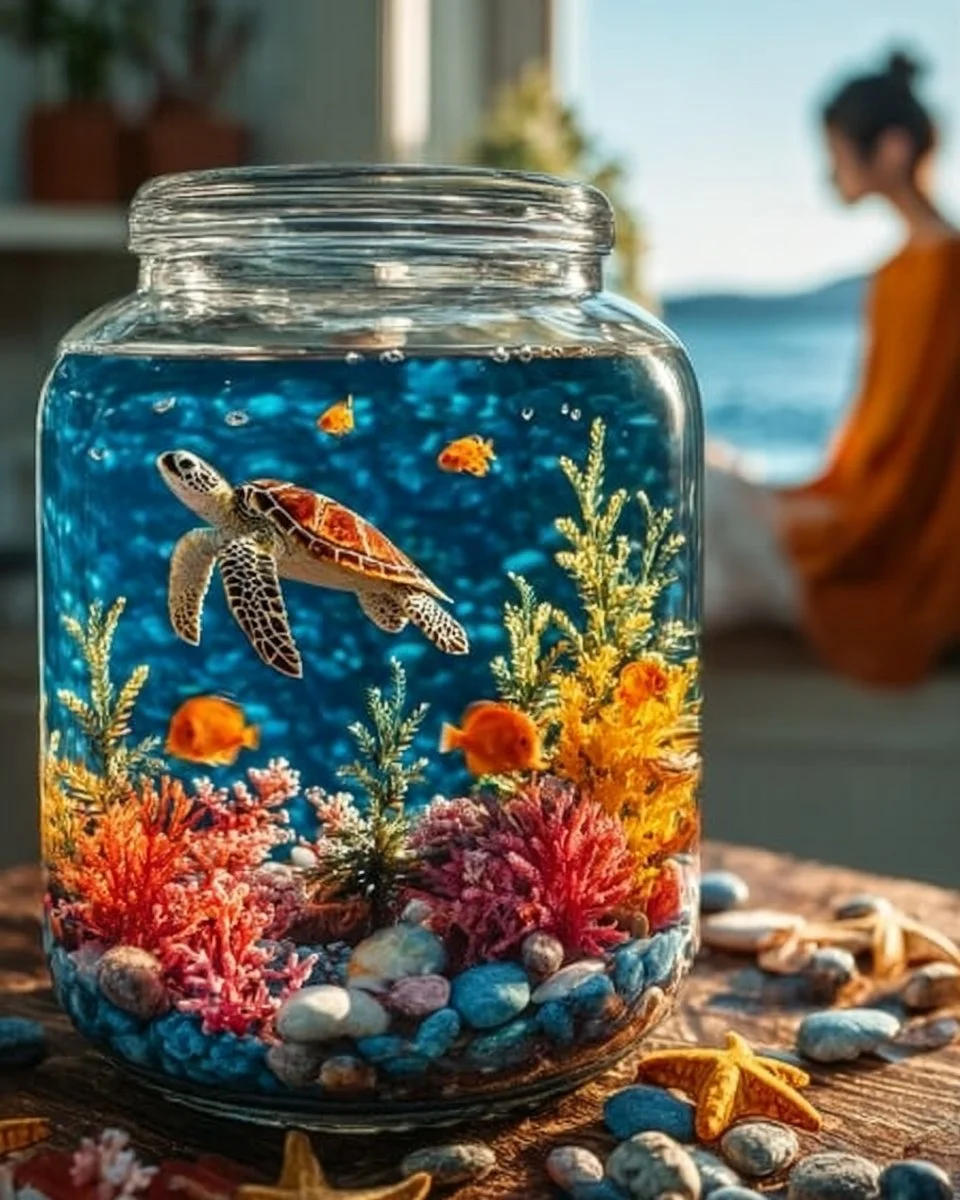
Create Your Own DIY Under the Sea Snow Globe: Magical Ocean Decor
Dive into Creativity with This DIY Under the Sea Snow Globe Project
Imagine this: It’s a cozy Saturday afternoon, the sunlight streaming through the window, casting playful patterns on your living room floor. The smell of freshly baked cookies wafts through the air, and laughter echoes as kids scurry around, filled with the kind of boundless energy that only a weekend can inspire. What a perfect moment for a creative adventure! If you’re looking for a way to capture that joy and sprinkle a dash of magic into your space, our DIY Under the Sea Snow Globe project is just the ticket. Not only is this craft perfect for kids and adults alike, but it also transforms simple materials into a mesmerizing ocean-themed masterpiece that you can watch swirl with excitement.
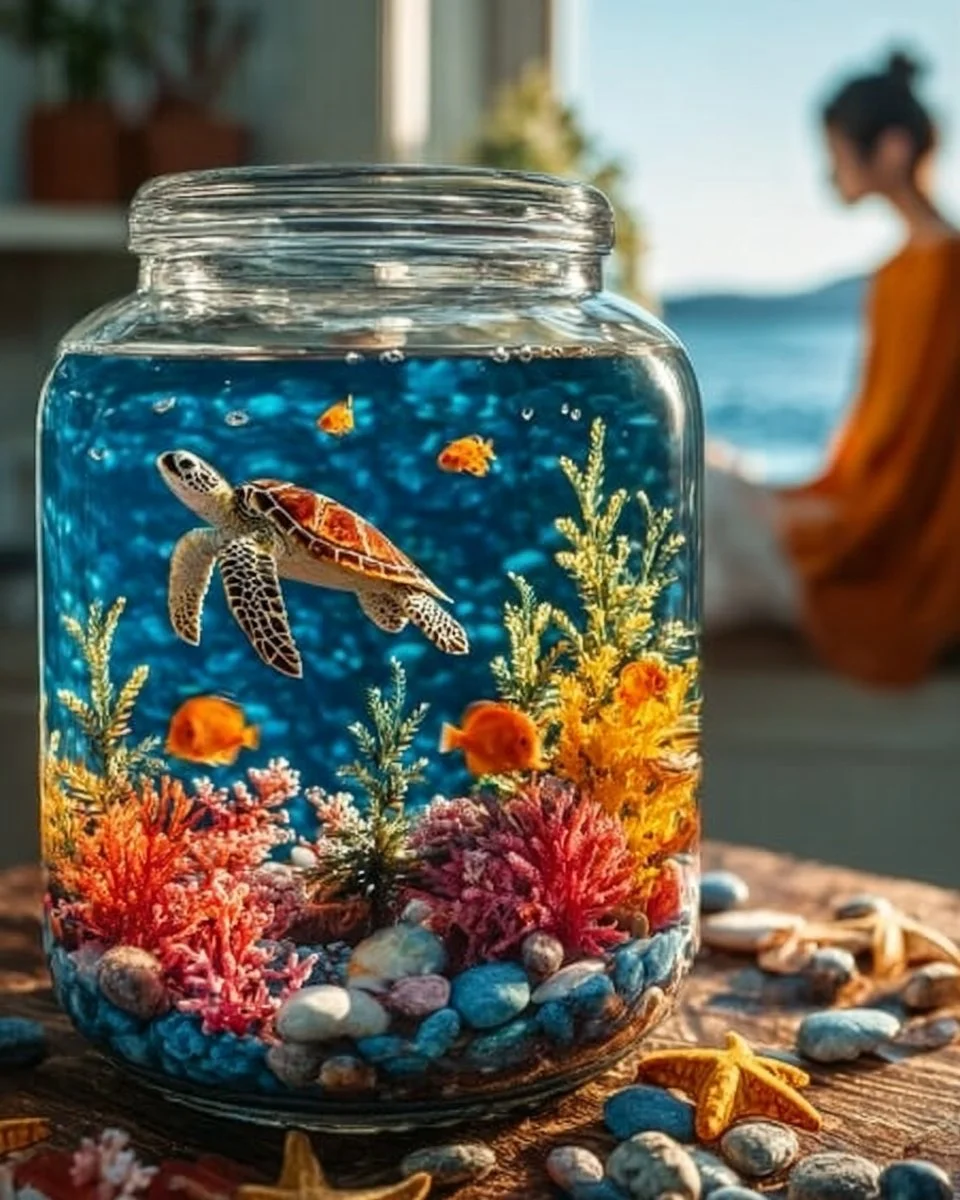
Why People Love This Idea
The allure of creating something with your hands is universal. There’s a profound satisfaction that comes from crafting something beautiful, especially when it adds a splash of personality to your home. Snow globes, in particular, awaken nostalgia; they remind us of childhood days spent dreaming about far-off places or simply marveling at the twinkling beauty of a suspended scene. This DIY project invites you to dive into your creativity, letting you infuse your personality into this delightful winter wonderland—no matter the season.
Benefits and Best Occasions to Use It
Once you’ve completed your enchanting under-the-sea snow globe, it serves as more than just a decorative piece. It can become a cherished conversation starter, a thoughtful gift, or even a personalized piece for special occasions. Picture this: A shimmering snow globe made with a child’s art inside, gifted to a proud grandparent. Or perhaps, an under-the-sea themed decor to enhance a coastal party or a beach-themed baby shower. The possibilities are endless!
Materials You’ll Need
Gather your materials, and let’s dive in! Here’s what you’ll need for this tantalizing crafting journey:
- A clear glass container with a lid: This could be a mason jar or any glass jar with a tight-fitting lid. The container will house your magical world, so choose one that’s both beautiful and spacious enough to accommodate your ocean wonders.
- Glitter: Go for various shades of blue and green, or even some iridescent flakes to mimic the ocean’s shimmer.
- Miniature ocean-themed figurines: Dolphins, mermaids, fish, or shells will create an enchanting scene. These can easily be found at craft stores.
- Distilled water: This helps in creating a clear and beautiful view of your underwater masterpiece without impurities.
- Glycerin: This thickens the water, slowing down the glittery snowfall when you shake it.
- Super glue: To secure your figurines to the lid. This prevents them from swirling around and makes your scene stable.
- Optional: Colorful sand or pebbles to create a realistic ocean floor.
Step-by-Step Instructions
Now, let’s embark on our snow globe-making adventure! Follow these easy steps, and you’ll achieve a mesmerizing result.
-
Prepare Your Space: Clear a large workspace and lay down some newspaper or craft mats to catch any stray glitter. We want to keep this day filled with joy, not glitter-wars!
-
Secure the Figurines: Start by taking the lid of your glass jar. Choose your favorite figurines and apply a small dot of super glue to their bases. Firmly press them onto the lid, allowing them to dry completely.
-
Create the Ocean Scene: Once the glue has set, you can sprinkle a layer of colorful sand or pebbles on the lid around your figurines. This adds an authentic touch, creating the illusion of an ocean floor.
-
Assemble the Globe: Pour distilled water into your glass container, filling it almost to the top. Then, add a few drops of glycerin—about half a teaspoon should do. This will help the glitter swirl more slowly, giving it that enchanting underwater effect.
-
Add Glitter: Now for the magical part! Sprinkle in the glitters, mixing various colors as you see fit. Don’t be shy—more is often merrier in a snow globe!
-
Seal and Shake: Carefully screw on the lid with the figurines. Ensure it’s tight and leak-proof. Now, give it a gentle shake! Watch as the glitter dances around—it’s mesmerizing.
-
Final Touches: If necessary, you can add a touch of super glue to the inside of the lid where it meets the jar; this helps ensure stability for your winter wonderland.
Helpful Tips for Success
- Experiment with Colors: Don’t shy away from mixing different shades of glitter. Think about the myriad colors found in ocean water; you can replicate that beauty here.
- Take Your Time: Enjoy each step of this process. Crafting is about the journey as much as the destination, so let your creativity flow freely.
Common Mistakes to Avoid
One common pitfall is overloading the jar with too much glitter or water. Finding the perfect balance is key to achieving that magical snowfall effect without cluttering your scene. Another mistake is not securing the figurines well enough on the lid. Ensure they’re firmly glued down before you seal everything up!
Creative Variations
Feeling particularly adventurous? Why not diversify your snow globe creations? You might try:
- Seasonal Themes: Create different scenes for various holidays; imagine a winter wonderland or a spooky Halloween ghost scene!
- Personalized Globes: Use photos or little mementos as part of your globe, creating a memory drop to treasure forever.
Presentation and Decoration Ideas
Once finished, these snow globes can become enchanting centerpieces for any occasion. Add a few seashells around the base for a beachy vibe, or wrap twine around the lid for a rustic touch. They also make beautiful gifts—imagine gifting a friend an under-the-sea creation, carefully wrapped with love.
Storage Tips
- Display: Place your globe on a shelf or a mantel where it catches the light, making the glitter dance beautifully.
- Avoid Direct Sunlight: To maintain the vibrancy of colors and prevent fading over time, choose a shaded area for display.
Frequently Asked Questions
Can I add more water if the globe isn’t full enough?
Yes, you can. Just make sure to reseal it correctly to avoid any leaks.
How do I clean the globes?
Dust them gently with a soft cloth. If water enters, disassemble, clean, and refill carefully.
Closing Thoughts
Your DIY Under the Sea Snow Globe is more than just a captivating decoration; it’s a reminder of creativity and the joy found in making something beautiful by hand. As you watch the glitter swirl and settle, let it transport you to a magical underwater world, bringing a sprinkling of joy and tranquility into your home. So gather your materials, unleash your imagination, and dive into this exciting crafting adventure—you’ll create not just a stunning piece but also unforgettable memories along the way!
Meta Description: Dive into creativity with this enchanting DIY Under the Sea Snow Globe! Perfect for both kids and adults, follow our easy step-by-step guide and make your magical ocean-themed masterpiece today.
SEO Tags: DIY Crafts, Snow Globe, Home Decor, Family Activities, Creative Projects, Under the Sea, Glitter Crafts