
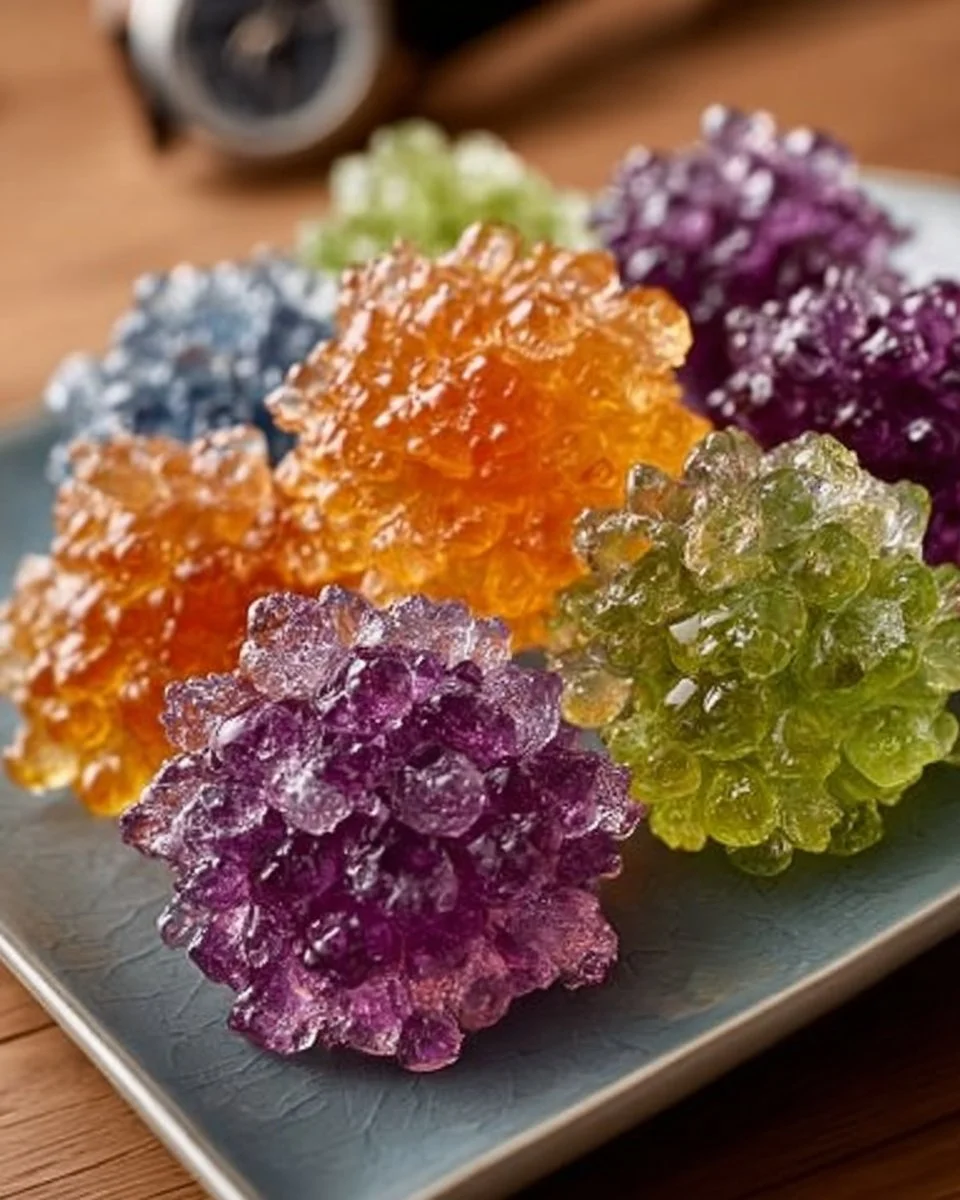
Create Stunning Colorful Crystals: Fun DIY Craft Project for All Ages
Unleash Your Creativity: A Vibrant DIY Project for Colorful Crystals
Imagine a sunny afternoon, golden rays spilling through your window, and the aroma of freshly brewed tea wafting through the air. You gather your little ones around the kitchen table, the bright colors of crayons scattered about, echoing the laughter of the day. It’s one of those perfect moments where creativity meets simplicity, and you’re all set for a delightful DIY project that promises not only colorful results but also a change of pace from the regular hustle and bustle — colorful crystals made from rock salt, glue, and food coloring!
This vibrant project serves as more than just another craft; it’s a bridge to creativity, a chance to express, explore, and experience in a way that is engaging for both young hands and seasoned creators. Whether you want to enhance your home decor or create thoughtful gifts, these sparkling crystals offer a mystical touch to any environment. Let’s dive into the fun with a step-by-step guide that you can follow easily, no experience required, just an eagerness to unleash your creativity!
Why People Love This DIY Project
Crafting is a journey of transformation. There’s something immensely gratifying about taking a few simple materials and turning them into a work of art. This particular DIY project captivates both the young and the young-at-heart because it invites exploration and imagination.
The colorful crystals you will create are not just pretty to look at; they tell a story about the process — the joy of mixing, watching the colors blend, and seeing the slow metamorphosis as the crystals form. This project also encourages a hands-on experience and allows everyone to personalize their creations with different color palettes. Whether you’re creating blue ocean hues or vibrant rainbow clusters, each crystal is a testament to individuality.
Benefits and Best Occasions to Use It
You’re not just crafting crystals; you’re harnessing the benefits of engaging in a creative process. This project promotes fine motor skills for children, is a great bonding activity for families, and provides relaxation for adults. On top of that, it can be a unique addition to various occasions:
- Home Decor: Create a mesmerizing centerpiece for your coffee table or bedroom.
- Gifts: Handmade gifts hold a special place in the heart; these crystals make thoughtful presents for friends and family.
- Seasonal Celebrations: Illuminate your holiday decorations with these colorful gems, making perfect decorations for birthdays, holidays, or even themed parties.
Materials You’ll Need
Before diving into the vivid world of color and creativity, let’s gather our supplies. You’ll need:
- Rock salt: This is your base, not just a cooking ingredient!
- White school glue: A classic choice that binds everything together and allows your crystals to form beautifully.
- Food coloring: This is where the magic happens; choose any colors that speak to you.
- Small bowls or containers: For mixing and creating your colored solutions.
- Wax paper or a tray: To catch the drips and showcase your creations as they dry.
As you gather your materials, picture the beautiful potential awaiting in those simple components.
Step-By-Step Instructions
Let’s roll up our sleeves and get started!
-
Prepare Your Workspace: Lay down some wax paper or a tray to keep your area tidy. Many hands make for messy fun, but it’s good to protect your surfaces.
-
Mix Your Solutions: In a small bowl, mix 2 tablespoons of white school glue with 2 tablespoons of warm water. Stir until the mixture is smooth; this is the adhesive that will help our crystals form.
-
Add Color: Now the fun begins! Add a few drops of food coloring to your glue mixture; the more you add, the more vibrant your outcome will be. Stir well — watch how the colors swirl and blend, creating a beautiful lacquer reminiscent of a painter’s palette.
-
Create the Base: On your wax paper, spread a thick layer of rock salt in a shape you like—perhaps a circle, star, or even an abstract design. The shape doesn’t need to be perfect; just let your creativity flow!
-
Apply Your Mixture: Gently drizzle the colored glue mixture over the rock salt. Observe as the colors seep through the salt, transforming it into a bright landscape of colors. Each drop is a series of magical moments unfolding.
-
Let Them Set: Allow your crystals to dry for at least 24 hours. If you’re in a particularly humid environment, it might take a bit longer. This is the moment where patience becomes a key ingredient — watch in anticipation as your crystals begin to take shape.
-
Display with Pride: Once they are fully dry, peel them off the parchment and admire your sparkling creations! You can leave them as they are or place them in a decorative dish or hang them to catch the light.
Helpful Tips for Success
- Use different color combinations and layering techniques for unique effects.
- If you want larger crystals, add more layers of glue and salt.
- Keep an eye on the drying process and try experimenting with different shapes or layers.
Common Mistakes to Avoid
- Mixing too much water into your glue mixture can dilute the bonding power. Make sure you stick to the 2:2 ratio for the best results.
- Rushing the drying process — it’s tempting, but give those beauties time to set for maximum crystal magic.
Creative Variations
Why stop at just one color? Consider experimenting with themes! For example, you can create:
- Ocean-themed crystals: Use blues and greens, and even mix in a little glitter for a shimmering effect.
- Autumn foliage: Warm reds, oranges, and yellows mimic the beauty of the changing seasons.
- Galaxy creations: Mix dark purples, blues, and hints of silver for an outer space vibe.
Presentation Ideas
Displaying your colorful crystals can be as delightful as making them. Consider grouping them in clear glass jars or decorative trays. If you’ve created a collection, why not arrange them in a rainbow gradient? The visual impact can truly brighten up any space.
Storage Tips
If you’re making crystals as gifts or for later display, gently tuck them away in a cool, dry place. Ensure they are separated to prevent them from clumping together.
Frequently Asked Questions
Can I eat the materials used in this project?
While they’re made from edible items, this DIY project yields non-consumable art. Always keep them away from little mouths!
How long will these crystals last?
If stored properly in a dry area, your colorful crystals can last for a long time, becoming whimsical decorations in months to come.
Wrap-Up: Your Colorful Journey Awaits!
As you gather your materials and dive into this vibrant art project, remember that the journey is as precious as the destination. You’re not just crafting; you’re creating memories, exploring colors, and enjoying the magic of transformation right in your own home.
So why wait? Bring out the rock salt, glue, and food color and embark on this delightful adventure today! Each sparkling creation will twinkle with stories of those sunny afternoons filled with laughter and creativity — who knows, you might end up crafting a family tradition that brightens your days for years to come!
SEO Meta Description: Unleash your creativity with a vibrant DIY project that transforms rock salt, glue, and food coloring into colorful crystals. Perfect for all ages, this craft offers a delightful way to create beautiful decor and gifts!
SEO Tags: DIY crafts, Colorful Crystals, Creative Projects, Family Activities, Handmade Gifts, Home Decor, Kids Crafts