
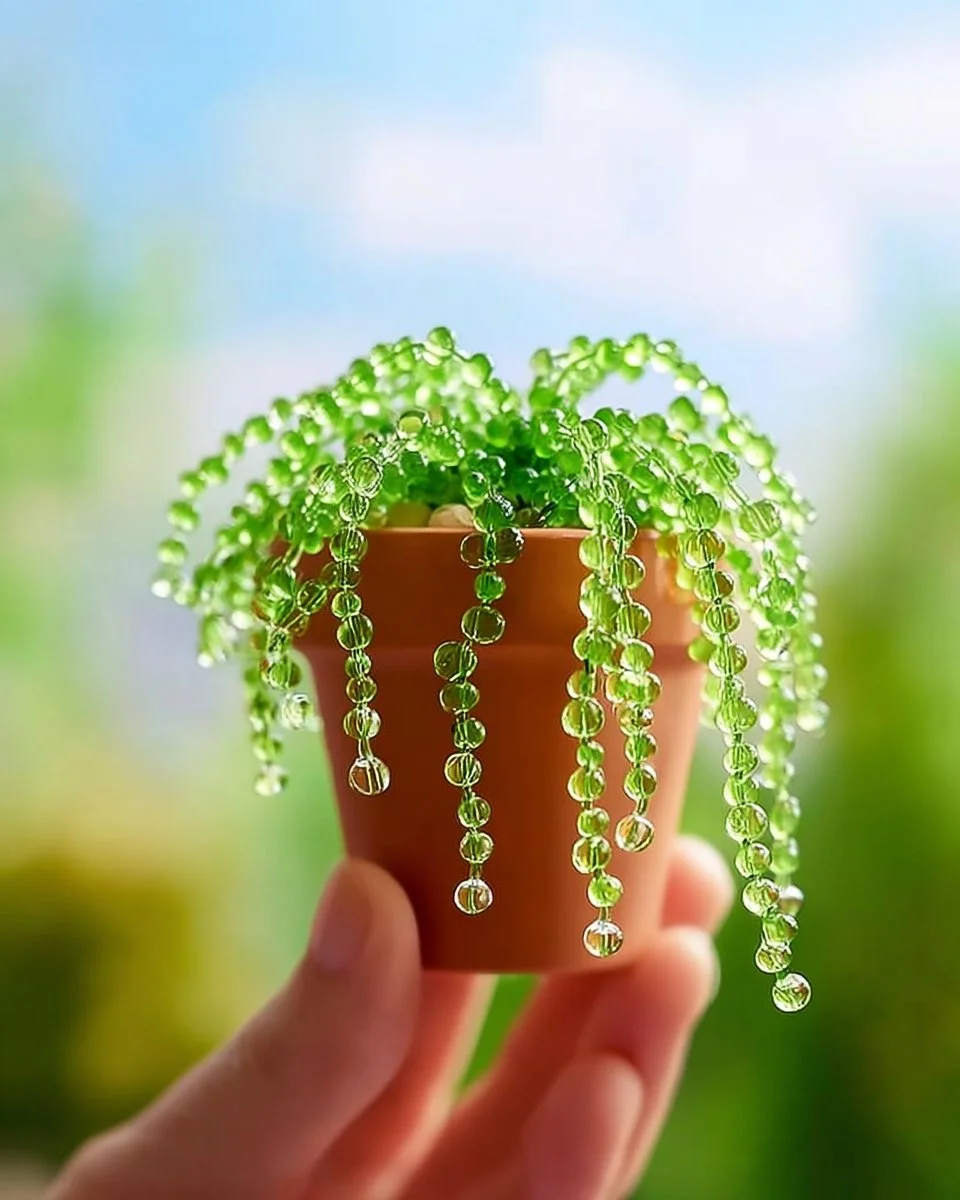
How to Make a Beaded Plant – Easy & Cute DIY Decor
Make a Pretty Beaded Plant with This Easy DIY Tutorial!
Picture this: it’s a sunny afternoon, and warm golden light pours through your window, casting a gentle glow over your workspace. You can hear birds chirping outside as you settle down at your crafting table, filled with a kaleidoscope of colorful beads, shimmering wire, and a sturdy pot. You’re not just embarking on a project; you’re about to dive into a creative escape where the only goal is to craft something whimsical and beautiful to brighten your home. Making a pretty beaded plant isn’t just about the end product; it’s about celebrating the beauty of creation and bringing joy into your living space.
Today, let’s dive into the delightful world of DIY crafting and explore how to transform your artistic vision into a charming beaded plant that adds a touch of magic to your home.
Why People Love This Idea
In our fast-paced lives, where technology often reigns supreme, hands-on projects provide a delightful harbinger of nostalgia and joy. Creating a beaded plant isn’t just a crafty endeavor—it’s a way of reconnecting with our surroundings and letting imagination flourish. The act of threading beads, shaping leaves, and crafting each wire stem is akin to a calming meditation session, allowing creativity to flow freely.
People adore this DIY project because it beautifully melds artistry with function. The dazzling arrangement of beads catches the light, turning a simple decoration into a radiant work of art. Each beaded plant becomes a unique testament to your personality, a small piece of your heart reflected in your handiwork. Imagine stepping back and admiring your creation, knowing every twist and turn of the wire was shaped by your hands.
The Benefits and Best Occasions to Use It
Beaded plants aren’t just a stunning addition to your decor; they come with a host of practical benefits. For starters, they make for thoughtful gifts! Imagine gifting a handmade beaded plant to a friend for a housewarming, birthday, or that special “just-because” occasion. These vibrant creations carry the essence of your intentions and serve as a charming reminder of your creativity.
Moreover, their durability means they brighten spaces without the commitment of watering or sunlight—perfect for those who may not possess the greenest of thumbs! Beaded plants can breathe life into apartments, offices, or living rooms, infusing color and warmth without demanding maintenance.
Materials You’ll Need
Before we embark on this wonderful crafting adventure, let’s gather our materials.
- Beads: Choose a variety of colors and sizes. Glass beads sparkle beautifully under the light, whereas wooden ones add a lovely rustic charm.
- Floral Wire: This flexible wire is both strong and pliable, making it ideal for shaping your plant.
- Wire Cutters: Essential for trimming your wire to your desired lengths.
- Pliers: Handy for bending and looping wire ends.
- A Pot or Container: Pick a container that speaks to you—a ceramic pot, a mason jar, or even an old tin can can become a delightful home for your beaded creation.
Don’t worry if you feel a bit overwhelmed by the choices. At the heart of this craft lies pure creativity, and each decision invites your unique vision to unfold.
Step-by-Step Instructions
Now, with materials at hand, let’s bring your beaded plant to life in a series of simple yet enjoyable steps.
1. Prepare Your Workspace
Start by finding a cozy spot with plenty of natural light. Gather all your materials within arm’s reach and lay out your beads in organized sections. This not only keeps your workspace tidy but ignites your creative energy.
2. Cut Your Wire
Cut a length of floral wire, about 12 to 15 inches long. This length offers enough room to create multiple leaves or blooms for your plant.
3. Start with the Leaves
Thread 5 to 8 beads onto the wire, mixing sizes and colors to add depth and character. After adding your beads, leave about an inch of wire empty at the bottom. Bend the wire into a leaf shape, twisting it back onto itself to secure the beads in place.
4. Twisting for Structure
Take the tail of the wire and twist it around the base where the leaves end. This step reinforces their structure, transforming them into sturdy leaves that can withstand the test of time.
5. Creating More Leaves
Repeat the process for additional leaves, varying the colors and sizes to create a playful and interesting visual effect. As you create, feel free to gauge how many leaves you’d like on each stem depending on your pot size.
6. Forming the Stems
Cut longer pieces of wire to serve as the central stems. Attach your leaves by twisting their bases around the main stem sequentially, starting from the bottom and working your way up.
7. Final Assembly
Once you’re content with the arrangement of leaves and stems, gently insert the stem into your chosen pot or container. Fill the pot with stones for weight, decorative sand for texture, or floral foam to hold it all together securely.
8. Personal Touch
Step back and admire your work! Consider adding a few little embellishments like tiny butterflies, more beads, or a whimsical fairy charm to make your creation truly one-of-a-kind.
Helpful Tips
- Experiment Freely: Allow your creativity to roam. If you see a design in your mind, go for it—there are no strict rules in crafting!
- Use Layers: To create depth, craft multiple stems of varied lengths and heights.
- Secure Your Elements: If adding heavier beads, ensure you distribute their weight appropriately along the stem to prevent tipping.
Beginner Mistakes to Avoid
Crafting, like any new adventure, comes with a learning curve. Here are a few common pitfalls to sidestep:
- Overloading the Wire: Avoid piling too many beads onto your wires, as this can create a top-heavy structure.
- Ignoring Length: Not leaving enough wire can lead to frustration when bending or twisting leaves. Always err on the side of having a bit extra.
- Forgetting to Visualize: Take time to step back occasionally while crafting. It’s easy to lose sight of how the overall piece will come together, so give yourself a breather.
Creative Variations
Let your imagination take flight! Here are some playful twists to elevate your beaded plant:
- Seasonal Themes: Swap out beads to reflect different seasons—think rich oranges and yellows for autumn, or soft pastels for spring.
- Mixed Media: Incorporate fabric leaves or even paper flowers alongside your beads for added texture and creativity.
- Themed Colors: Aim for a monochromatic collection by using varying shades of one color for an elegant, cohesive look.
Decoration and Presentation Ideas
Once your stunning beaded plant is crafted, it’s time to think about how to showcase your work!
- Group several plants on a windowsill to create a fun and vibrant display.
- Use them as centerpieces on your kitchen or coffee table, accentuating the ambiance with flickering candles nearby.
- Gift them in charming little pots wrapped with twine for an inviting touch that makes your creation a delight to give.
Frequently Asked Questions
-
Can I use any type of beads?
Absolutely! Explore using glass, wooden, or mixed materials—the beauty of DIY lies in personalization! -
Will this craft take long to complete?
Depending on your experience and design complexity, you can complete a beaded plant in a couple of hours—or longer if you decide to create something intricate. -
Can I leave my beaded plant outdoors?
While durable, it’s best to enjoy beaded plants indoors away from harsh weather. A covered porch, perhaps, would be suitable, but direct exposure to rain and sun can degrade the materials over time.
Conclusion
Creating a beaded plant is about so much more than merely stringing beads onto wire; it’s an invitation to infuse a piece of your heart into your home. With each glance at your colorful creation, let it remind you of the imagination, time, and love that went into crafting it.
So set aside some time for this uplifting project—perhaps on a cozy weekend or an afternoon with friends. Celebrate the joy of crafting, and let your imagination bloom as you create something beautiful, one bead at a time. Embrace the journey, and watch how these luminous treasures bring life not just to your shelves, but to your spirit as well. Grab those materials, and together let’s create a little magic!
SEO Meta Description: Dive into this easy DIY tutorial to create a charming beaded plant, perfect for home decor or as a thoughtful gift. Infuse creativity into your space with this delightful crafting adventure.
SEO Tags: DIY crafts, beaded plant tutorial, home decor, creative projects, gift ideas, crafting afternoon, easy craft ideas.