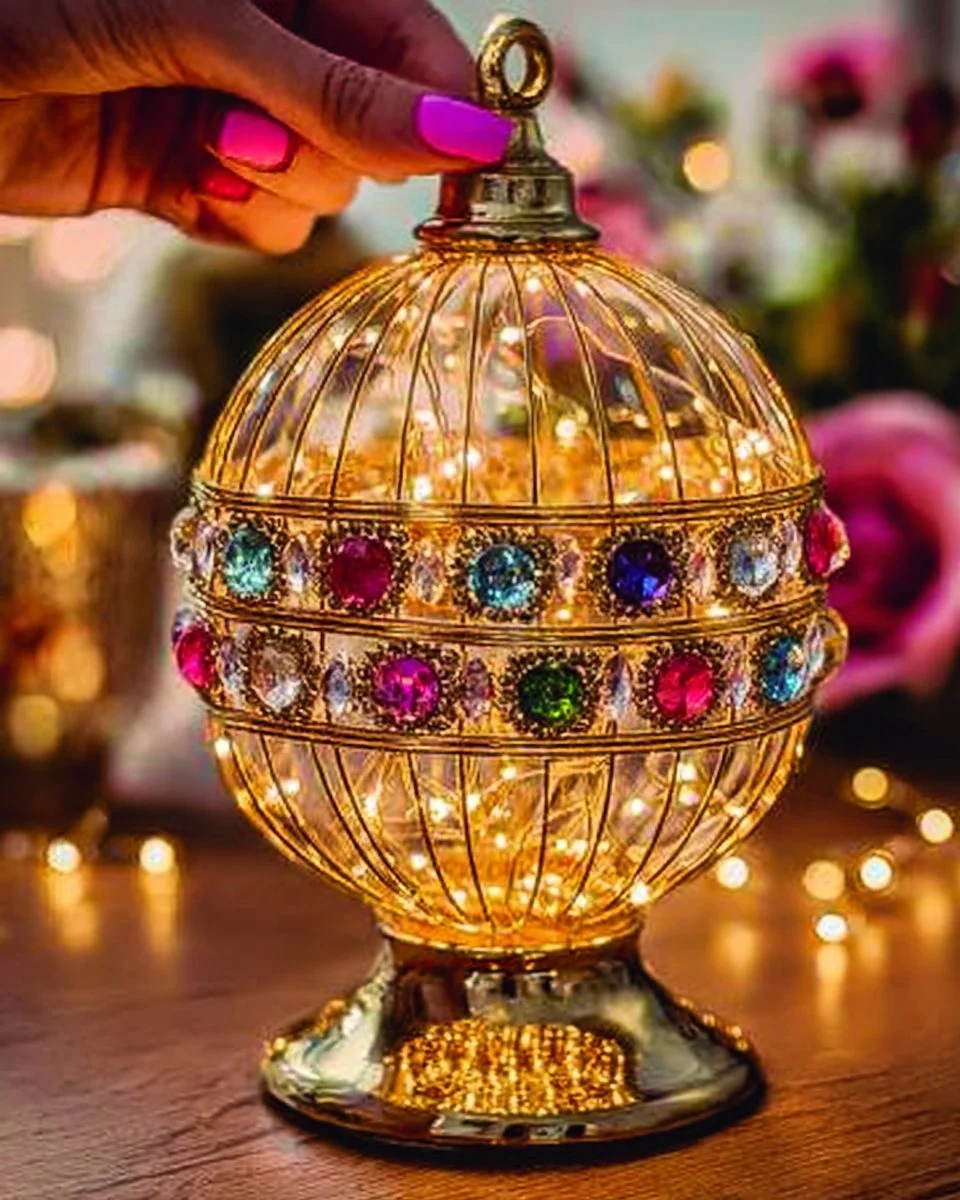
Light Up Your Life: Crafting a Glowing Jewel Bottle Lantern
Light Up Your Life: Crafting a Glowing Jewel Bottle Lantern
Imagine stepping into your garden on a balmy summer evening, the air rich with the scent of blooming flowers and freshly cut grass. As the sun dips below the horizon, laughter drifts through the air, reminding you of simple joys shared with loved ones. The soft fabrics of twilight envelop your outdoor space, gently illuminating the night. Then, your gaze catches something enchanting—hanging delicately from the branches of an old oak tree are shimmering lanterns, their warm glow casting playful patterns across the grass, inviting everyone to gather around. Each lantern, a creation of its own, sparkles like a magical jewel—an embodiment of creativity and care.
Today, we’re embarking on a transformative journey—one that invites you to craft your very own glowing jewel bottle lanterns. These lanterns are not merely decoration; they are infused with stories, dreams, and personal touches. From the very first snip of scissors to the final placement of LED fairy lights, the process of creating these magical pieces promises to be an experience that ignites joy in your heart.
Why You Will Adore This Project
In our fast-paced lives, filled with deadlines and responsibilities, taking the time to engage in crafting can feel like stepping into a whimsical world. Transforming everyday materials into vibrant, glowing lanterns allows you to infuse your space with beauty and warmth. The act of creating becomes a refuge, a sanctuary where imagination reigns and where time stands still.
One of the best facets of these glowing jewel bottle lanterns is their versatility. You get to customize colors, embellishments, and lights, crafting a unique expression of your personal style for every occasion. Additionally, this project is an eco-conscious choice, breathing new life into plastic bottles that might otherwise contribute to landfills. Furthermore, the lanterns evoke a wave of nostalgia, calling to mind lantern-lit festivals and magical evenings spent under twinkling stars, creating an emotional connection to our past while lighting up our present.
When to Use Your Lanterns
These radiant lanterns are perfect for a plethora of occasions. Use them to add warmth and intimacy to family gatherings, celebrate milestones, or create an enchanting atmosphere for a garden party. They can elevate a romantic dinner under the stars or serve as eye-catching decorations during holiday celebrations, injecting a festive spirit into your home. Whether strung delicately across a porch or perching gracefully on windowsills, these lanterns can transform any setting into a feel-good escape.
Gather Your Materials
Before we dive into this delightful crafting journey, let’s gather the necessary materials. This ensures a smooth and joyful experience, allowing your creativity to thrive.
- 2 clear plastic bottles: Choose bottles with unique shapes for added character.
- LED fairy lights: Opt for battery-operated ones for safety and an enchanting ambiance.
- Decorative gem stickers: These will create the stunning jewel effect.
- Gold glitter ribbon or trim: This adds elegance and a touch of sparkle.
- Tassels: Perfect for playful embellishment.
- Hot glue gun: Your trusty companion in securing all the pieces.
- Scissors: To shape the bottles.
- String for hanging: To display your creations wherever your heart desires.
Crafting the Glowing Jewel Bottle Lantern
Ready to embark on this creative journey? Let’s begin!
Step 1: Preparing the Bottles
Start by removing any labels from your plastic bottles, making sure they are spotless. A thorough wash will do the trick, and allow them to dry completely. The clearer the bottles, the more radiant the glow from the fairy lights will be, casting a mesmerizing atmosphere.
Step 2: Shaping the Lantern
Now, it’s time to transform your clean bottles into beautiful lanterns. Carefully cut off the tops and bottom of the bottles, leaving you with the charming middle sections. Cut vertical strips around the circumference of the bottle, ensuring you create a lantern-like shape. Be gentle, as you want to maintain the sturdiness of the plastic.
Step 3: Creating the Lantern Face
Once the strips are cut, gently bend them outward to mimic the petals of a flower. If they don’t hold their shape, use a little hot glue to secure them together, crafting the desired lantern look that will soon glow with light.
Step 4: Adding Elegance
Time to wrap your lantern in golden glamour! Take the gold ribbon or decorative trim and wrap it around the top and middle sections of your lantern. Secure it with a dab of hot glue, ensuring that the shimmering ribbon catches the light beautifully—a perfect dance of glimmers.
Step 5: Jewel It Up
Now comes the fun part: embellishing your lantern with colorful gem stickers! Let your imagination run wild. Mix and match shapes and colors, creating an enchanting jewel design that asserts, “Look at me!” This is where your personality shines through.
Step 6: Tassel Time
Attach a delightful tassel at the bottom of your lantern. This charming detail enriches the character and adds whimsy. Following that, create a hanging loop at the top using string, so your masterpiece can be displayed wherever you wish.
Step 7: Illuminate Your Creation
Finally, nestle those dreamy LED fairy lights inside your stunning new lantern. As night falls, find the perfect spot—be it your window, patio, or living space—and hang or place your lantern to bask in its enchanting glow.
Helpful Tips Along the Way
Crafting can be wonderfully rewarding, so here are some helpful tips to enhance your experience:
- Always use battery-operated LED lights to ensure safety, especially when working with plastic.
- For a more colorful glow, play with adding extra gems or experiment with various light colors.
- Create a series of lanterns in a rainbow of colors for an eye-popping display that truly enhances your space.
Avoiding Common Beginner Mistakes
Every crafting adventure comes with its own set of obstacles. Here are a few common pitfalls to keep in mind:
- Avoid overheating your hot glue, as it can become sticky and challenging to manage.
- Take your time when cutting the plastic bottles to avoid any accidental slips or overly flimsy pieces.
- If your lantern lacks stability, consider reinforcing it with additional glue or adjusting the base with weight.
Creative Variations to Explore
Once you’ve mastered the glowing jewel bottle lantern, allow your creativity to flourish even more. Consider using different types of bottles—maybe soda bottles with unique curves or wider jars—creating varied shapes for your lanterns. Experiment with paints or textured finishes before applying decorations for a fresh aesthetic. Try seasonal themes—like soft pastels for spring or rich golds and reds for autumn—to keep your designs relevant.
Presentation Ideas for Your Lanterns
When it’s time to display your creations, think about how to showcase them beautifully. Imagine a single lantern hanging proudly from a tree branch, creating dramatic silhouettes against the twilight sky. Alternatively, string several lanterns along a banister, lighting a pathway with inviting glows. Group lanterns at varying heights on a dining table to craft a whimsical centerpiece that elevates any dining experience.
Long-Lasting Creativity
Once you’ve poured your heart into crafting these lanterns, it’s essential to ensure they remain cherished treasures. Store your lanterns in a cool, dry space when not in use to protect them from the elements. Clean them gently, preserving every delightful detail, so they can continue to bring joy for years to come.
Frequently Asked Questions
- Can I use regular lights instead of battery-operated ones? It’s best to stick with battery-operated LED lights for safety and a magical, low-heat option.
- What if I don’t have tassels? Get crafty! You can create your own tassels from leftover ribbon or twine, or simply leave the bottom as is for a more minimalist style.
- Can I personalize it further? Absolutely! Get eclectic with paints, washi tapes, or even write your favorite quote on the bottle with a marker to make it uniquely yours.
As you step back to admire your glowing jewel bottle lantern, bask in the warmth of accomplishment and joy. Not just an object, but a testament to your creativity and resourcefulness, this lantern will become a beacon of memories waiting to be created, lighting up both your space and your spirit.
So gather your materials, invite a friend or two to share this experience, and let your imagination soar as brightly as the glowing lanterns you create. Embrace the magic of crafting, and share the light with those you love. Who knows? Your glowing jewel bottle lanterns might very well become the heart of your next gathering, illuminating laughter and joy for years to come.
SEO Meta Description:
Create a stunning glowing jewel bottle lantern with a simple, step-by-step crafting guide. Perfect for all occasions, these enchanting decorations add a touch of magic to your home and gatherings.
SEO Tags:
- DIY crafts
- glowing lanterns
- home decor ideas
- eco-friendly crafts
- party decorations
- fairy lights projects
- handmade gifts