
Sugar Water Painting for Kids
Create Colorful Masterpieces with Our Sugar Water Painting for Kids!
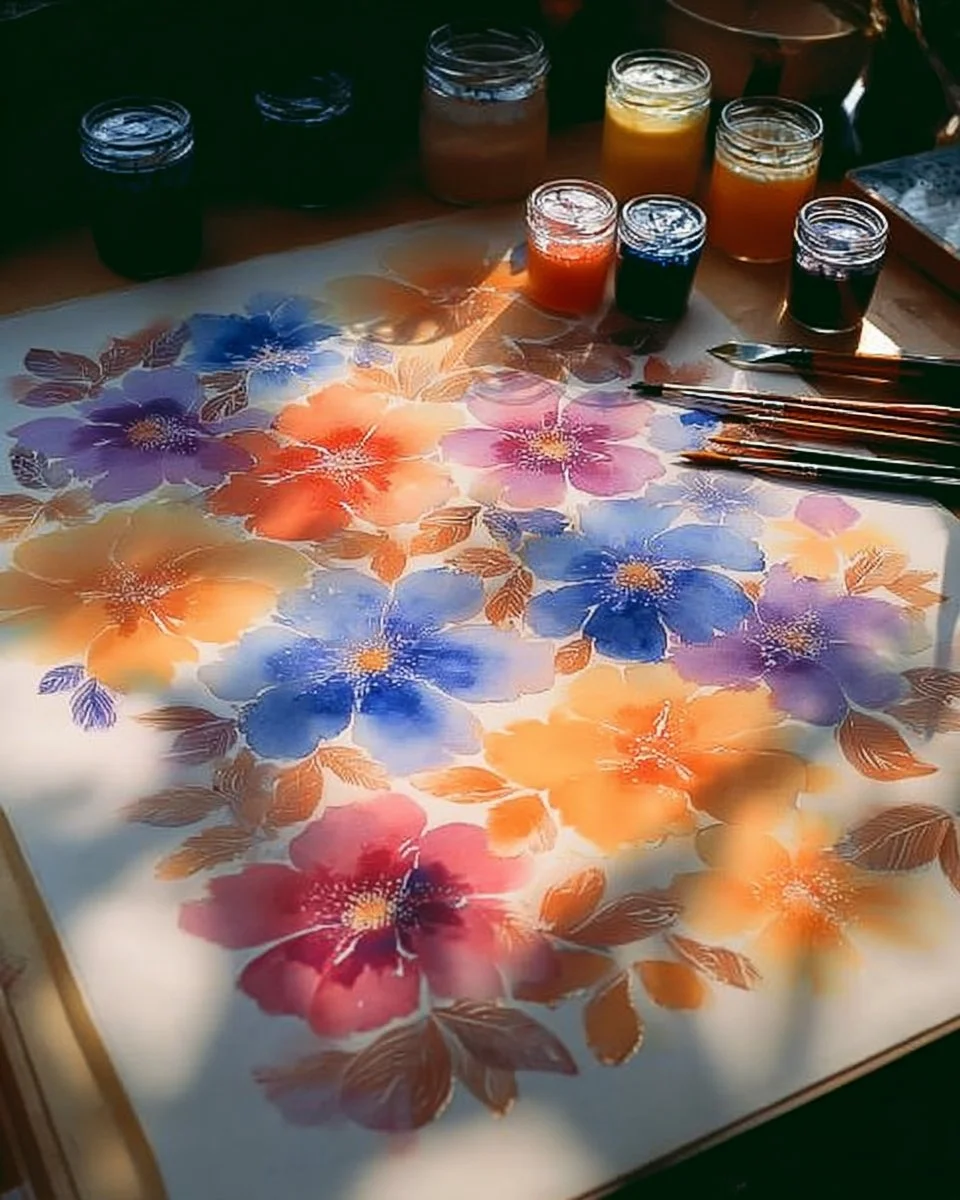
Imagine a sunlit afternoon, the warm golden rays filtering through your kitchen window, where laughter intertwines with creativity and the scent of innocence hangs in the air. You pour out a tiny palette of vibrant colors, ready for your little ones to embark on an exhilarating artistic adventure. Today, they won’t just be painting; they’ll be engaging in a delightful art of sugar water painting, a unique twist on classic watercolors that will leave their hands smudged with joy and imagination. 🌈✨
Here, we’ll dive into how to create colorful masterpieces using sugar water painting that is not only easy-going but also full of enchanting surprises. This engaging craft project is perfect for little hands eager to explore the world of art while fueling their creative sparks.
Why Sugar Water Painting?
Parents, educators, and art enthusiasts adore this craft because it transforms everyday ingredients into a canvas of creativity. Traditional watercolors can sometimes feel daunting for young children—they often seem too neat and structured, with strict lines that confine their imaginations. But sugar water painting embraces the chaotic beauty of exploration, opening a world filled with vivid hues and artistic expression.
What truly makes sugar water painting magical is its simplicity. This craft invites children to explore their imaginations freely, blending science with art. The sugar provides a surprising texture and a glossy finish, giving each masterpiece a unique flair.
Benefits and Best Occasions to Use It
Introducing your kids to sugar water painting offers a plethora of benefits. Not only does it keep their little hands busy, but it also promotes fine motor skills, encourages creativity, and can turn a dull afternoon into an explosion of colors. This craft is adaptable to various occasions—whether transforming a rainy day into a day of vibrant creativity, adding excitement to birthdays, or enhancing playdates, the art project adds an extra spark to family gatherings or quiet afternoons at home.
The Materials You’ll Need
Creating your sugar water paintings requires minimal but essential materials, many of which you may already have at home. Here’s what you’ll need to gather:
- Granulated sugar: This is the magical ingredient that makes our painting unique. Not only does it add texture, but it also gives your artwork a shimmering finish as it dries.
- Water: The main medium for dissolving our sugar and mixing colors.
- Food coloring: Vibrant hues will infuse life into your art. Gather a variety so your little ones can create a rainbow of options!
- Non-porous paper or cardstock: Watercolor paper is ideal, but any thick paper will do to hold the sugar/water mix without warping.
- Paintbrushes: Various sizes allow for different techniques and details.
- Containers for mixing: Small bowls or cups work wonders for creating colorful concoctions.
- Old newspapers or a plastic tablecloth: To cover the workspace for an easy cleanup—because let’s face it, kids are inherently messy!
Crafting the Masterpiece: Step-by-Step Instructions
Now that you have everything ready, let’s embark on this exciting journey of creativity and color.
-
Prepare Your Workspace: Lay down your paper and cover your workspace with newspapers or a plastic sheet. Let the kids know that this craft will be a colorful adventure!
-
Mix the Sugar Water: In a small bowl, combine one part sugar to two parts warm water. Stir until the sugar dissolves completely. If you want a thicker texture, add a bit more sugar; if a thinner consistency is desired, add a touch more water.
-
Divide and Color: Pour your sugar water into small containers. Add a few drops of food coloring to each and stir well to create cheerful mixtures. Watch as the colors swirl and blend—your children can experiment to create unique shades and hues.
-
Unleash Creativity: Hand each child a brush, dip it into the colorful mix, and let their imaginations soar! Encourage them to paint swirls, stripes, or even their favorite characters. The beauty of this medium lies in observing how the colors blend and evolve into something magical.
-
The Finishing Touch: Once satisfied with their masterpieces, leave them to dry on a flat surface. The sugar will create a lovely gloss as it dries, transforming each piece into a shiny treasure.
Helpful Tips Throughout the Craft
- Keep It Fun: This is all about the joy of creating! Remind your little Picassos that there are no mistakes in art—only opportunities for innovation and exploration.
- Experiment with Techniques: Encourage your kids to utilize different brush strokes—gentle dabs for soft blends or quick, sharp strokes for vibrant bursts of color. The options are limitless!
- Be Mindful of Quantity: A little sugar goes a long way. Watch the measurements to prevent the mixture from becoming too thick if you want a more fluid look.
Beginner Mistakes to Avoid
Even the most seasoned young artists might run into a few common pitfalls while painting with sugar water:
- Using Too Much Water: While some dilution is necessary, an overly watery mix can dilute the vibrant colors and lead to a muted masterpiece.
- Not Allowing Enough Drying Time: The artwork may appear different once fully dry, so instill the value of patience in your budding artists!
Flavorful Variations
The beauty of sugar water painting lies in its versatility. Explore endless creativity with variations of this delightful project:
- Adding Salt: Sprinkle salt onto wet paint for a textured, starry effect. Kids will love the mysterious patterns that emerge!
- Natural Dyes: Experiment with using fruits or vegetables for natural pigments. This adds chemistry and fun to the project, teaching little ones about colors from nature.
- Layering Techniques: Create depth by allowing one layer to dry before painting over it with another color. This technique will add a mesmerizing dimension to their artwork.
Presentation Ideas
When your little ones finish their masterpieces, offer them a special way to showcase their creations! Consider placing their artwork in frames or designing a mini gallery wall with clothespins and string. This not only gives their creations the spotlight but can also become a charming focal point in your home.
Storage and Maintenance Tips
If you happen to have leftover sugar water mixture, store it in a sealed container in the fridge for a few days. However, it’s best enjoyed fresh! For the paintings, keeping them out of direct sunlight will help minimize fading over time, preserving their vibrant colors for longer.
Frequently Asked Questions
Can adults join in the fun?
Absolutely! Sugar water painting is a fantastic way for parents to connect with their children creatively, fostering joyful family memories while expressing artistic flair.
How long does it typically take to dry?
Drying time can vary widely, usually ranging between 3 to 6 hours, depending on factors like temperature and humidity. Patience is key here—it’s worth the wait to see those beautifully glossy art pieces emerge!
A Colorful Conclusion
Crafting isn’t just about the end product; it’s a journey filled with laughter, splashes of color, and precious memories. Sugar water painting provides the perfect platform for children to express their inner artists while wielding the magic of simple ingredients. So gather your supplies, unlock the creative potential within little minds, and witness the joy as your kids unleash their imagination onto the canvas—creating colorful memories along the way.
Prepare for a delightful crafting day, and if you’re ever looking for a creative twist, sugar water painting will surely satisfy those little hands eager to explore the world of art. Save this pin for your next artistic adventure!
Meta Description: Unlock creative potential with our easy sugar water painting project! This colorful masterpiece idea is perfect for kids to explore art and fun.
SEO Tags: Kids Art, Sugar Water Painting, Fun Crafts for Kids, DIY Kids Projects, Creative Activities, Family Fun, Art Activities for Kids.